Oral piercings have become a popular form of self-expression, offering a unique way to showcase individuality through body art placed inside the mouth. From tongue to lip and cheek piercings, these modifications are distinct not only in their appearance but also in their care requirements. This guide covers everything you need to know about oral piercings, from understanding different types of oral piercings to essential healing tips needed. Whether you’re considering your first oral piercing or looking to learn more about maintaining one, this article will provide the information you need for a safe and successful experience.
What Are Oral Piercings?
Oral piercings are body modifications that involve piercing under the skin and placement of jewelry within different oral areas. Unlike traditional piercings on the ear or nose, an oral piercing may be placed on the tongue, lips, cheeks, or other inside parts of the mouth. This type of piercing has become increasingly popular as a form of self-expression and cultural affiliation.
Because of their peculiar location, oral piercings require special care and attention during the healing process. Since the mouth is very moist and a great source of bacteria, improper maintenance of oral piercings can lead to gum infections. Knowing the types of piercings and the procedure itself will help people weigh the decision about those body modifications.
Types of Oral Piercings
Oral piercings vary in placement and style, each with its own characteristics and healing considerations. Below are the most common types:
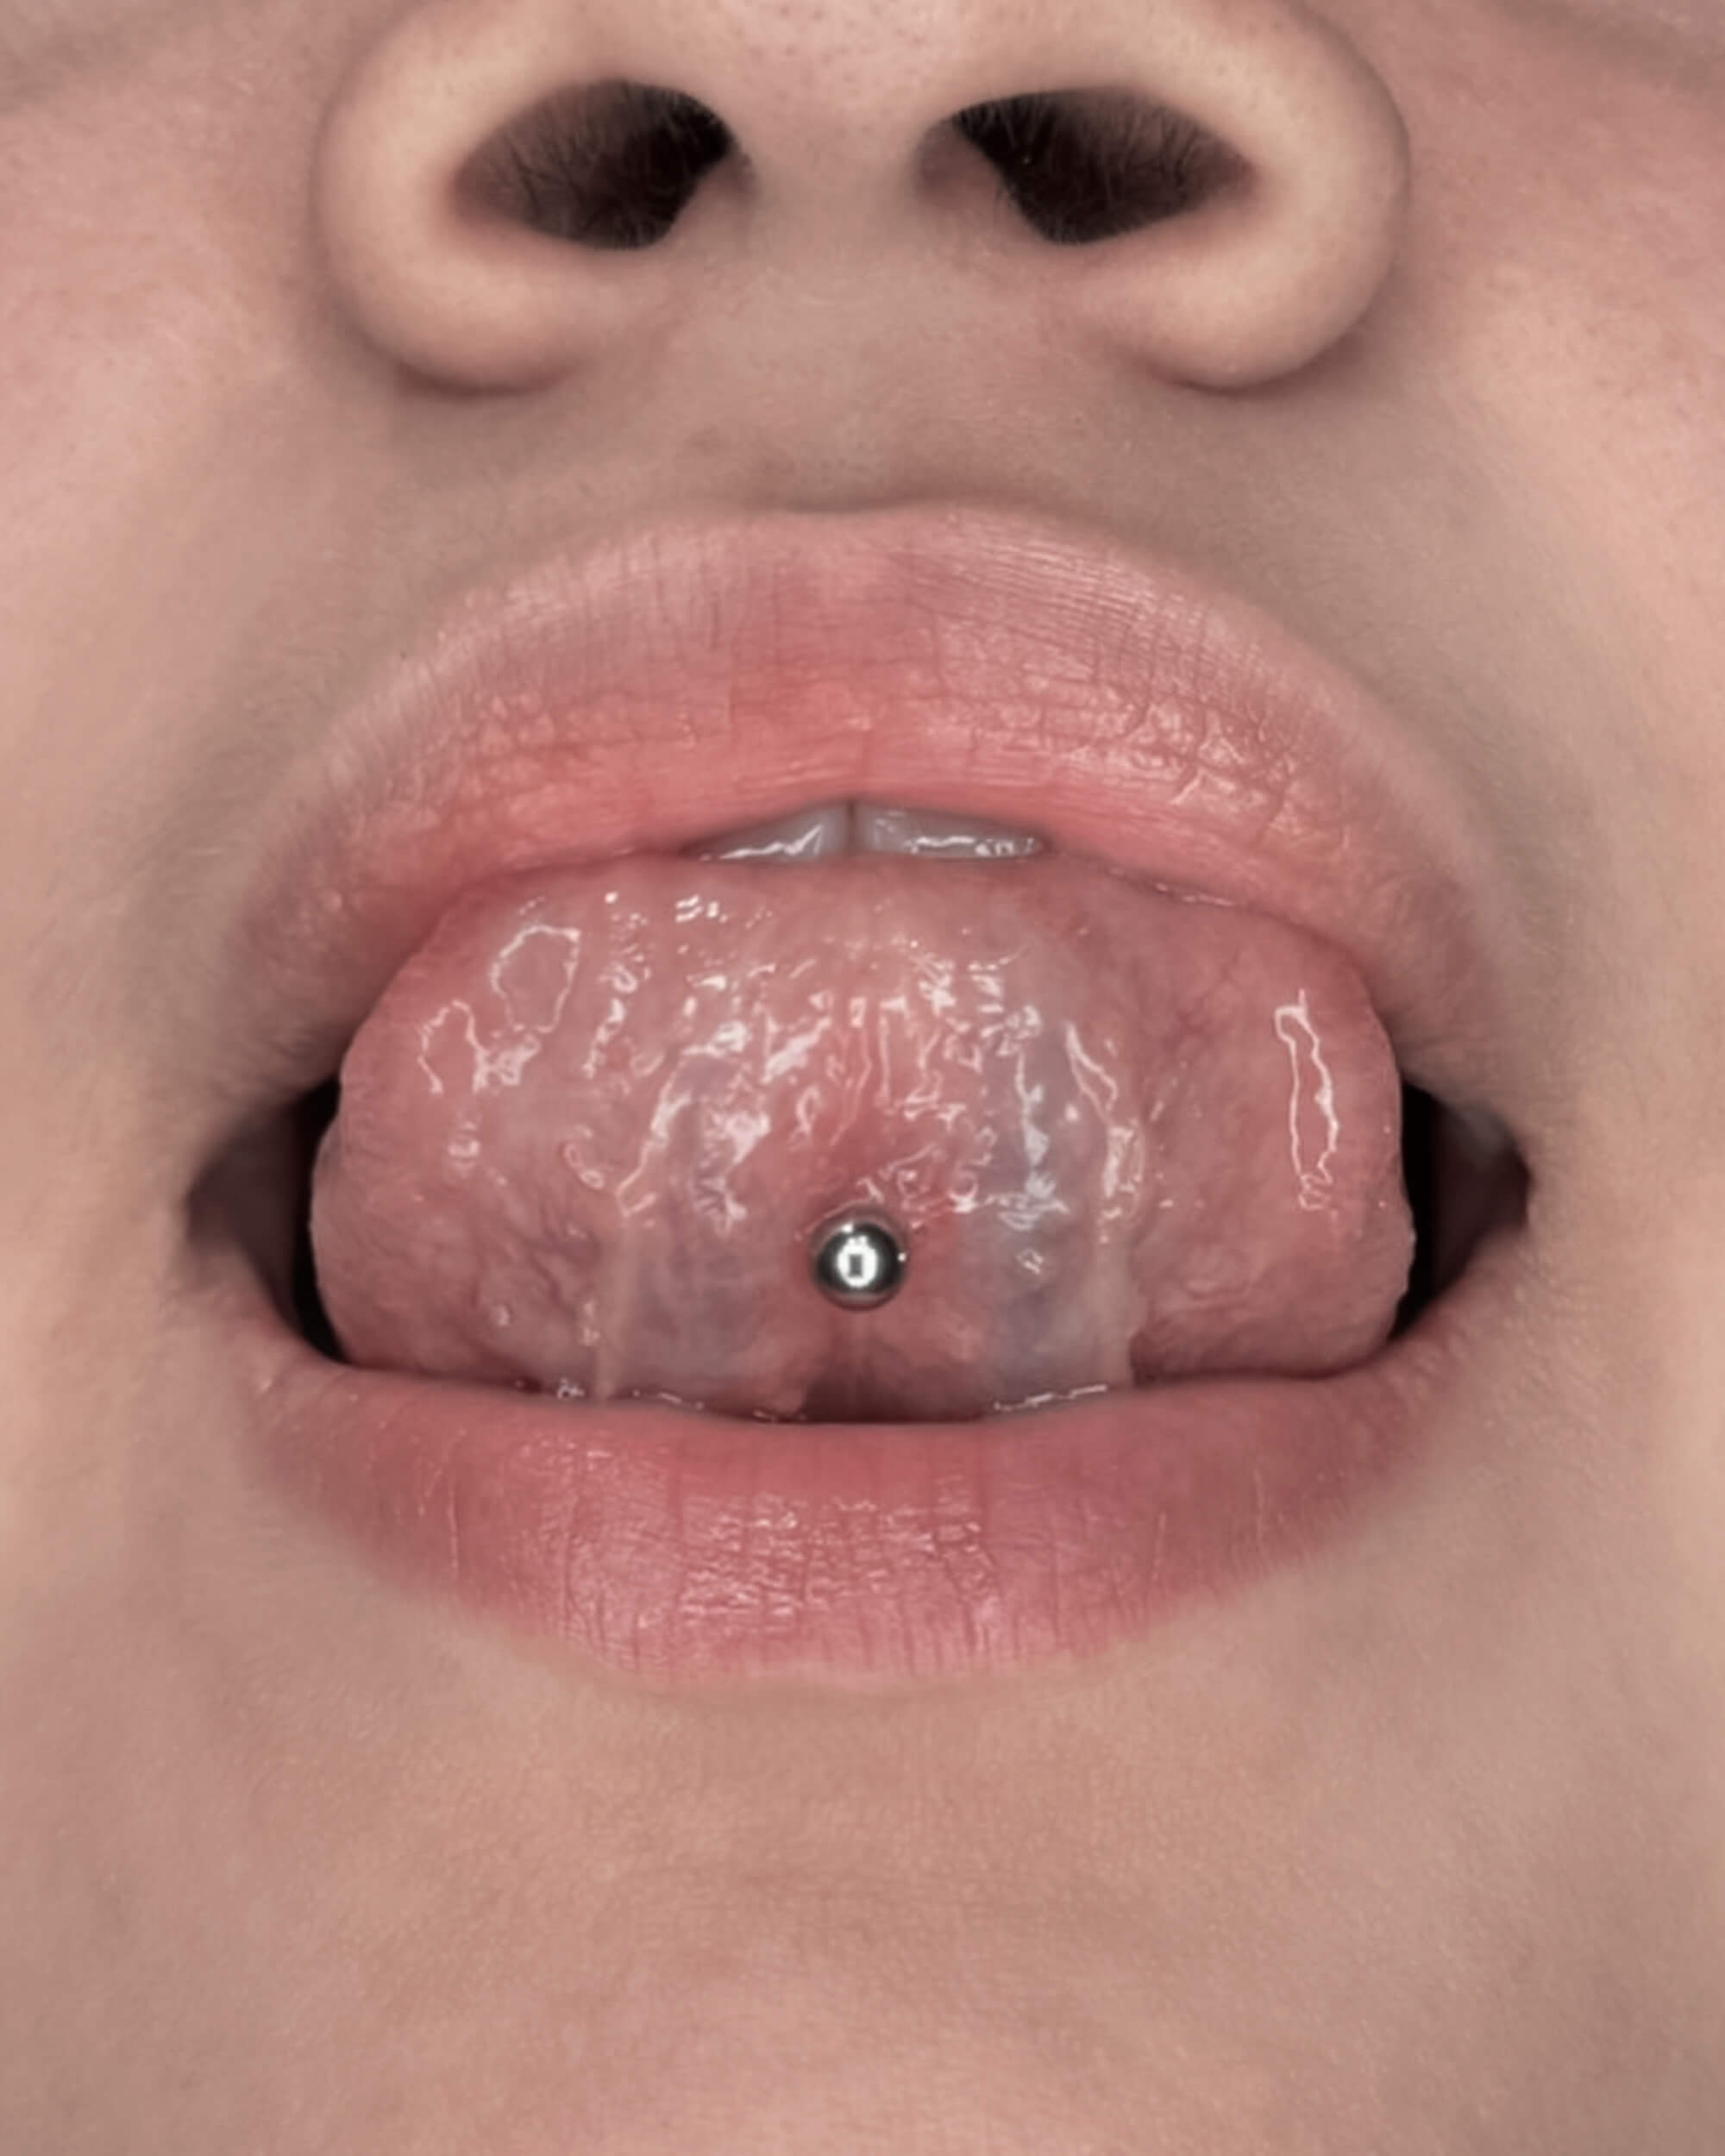
Tongue Piercings
Tongue piercings are among the most popular oral piercings. The jewelry is typically inserted through the center of the tongue, allowing for expressive and visible body art. Healing time is usually quicker than other oral piercings, often around 4 to 6 weeks. However, because the tongue is constantly in motion and exposed to saliva, careful aftercare is essential to avoid irritation or infection.

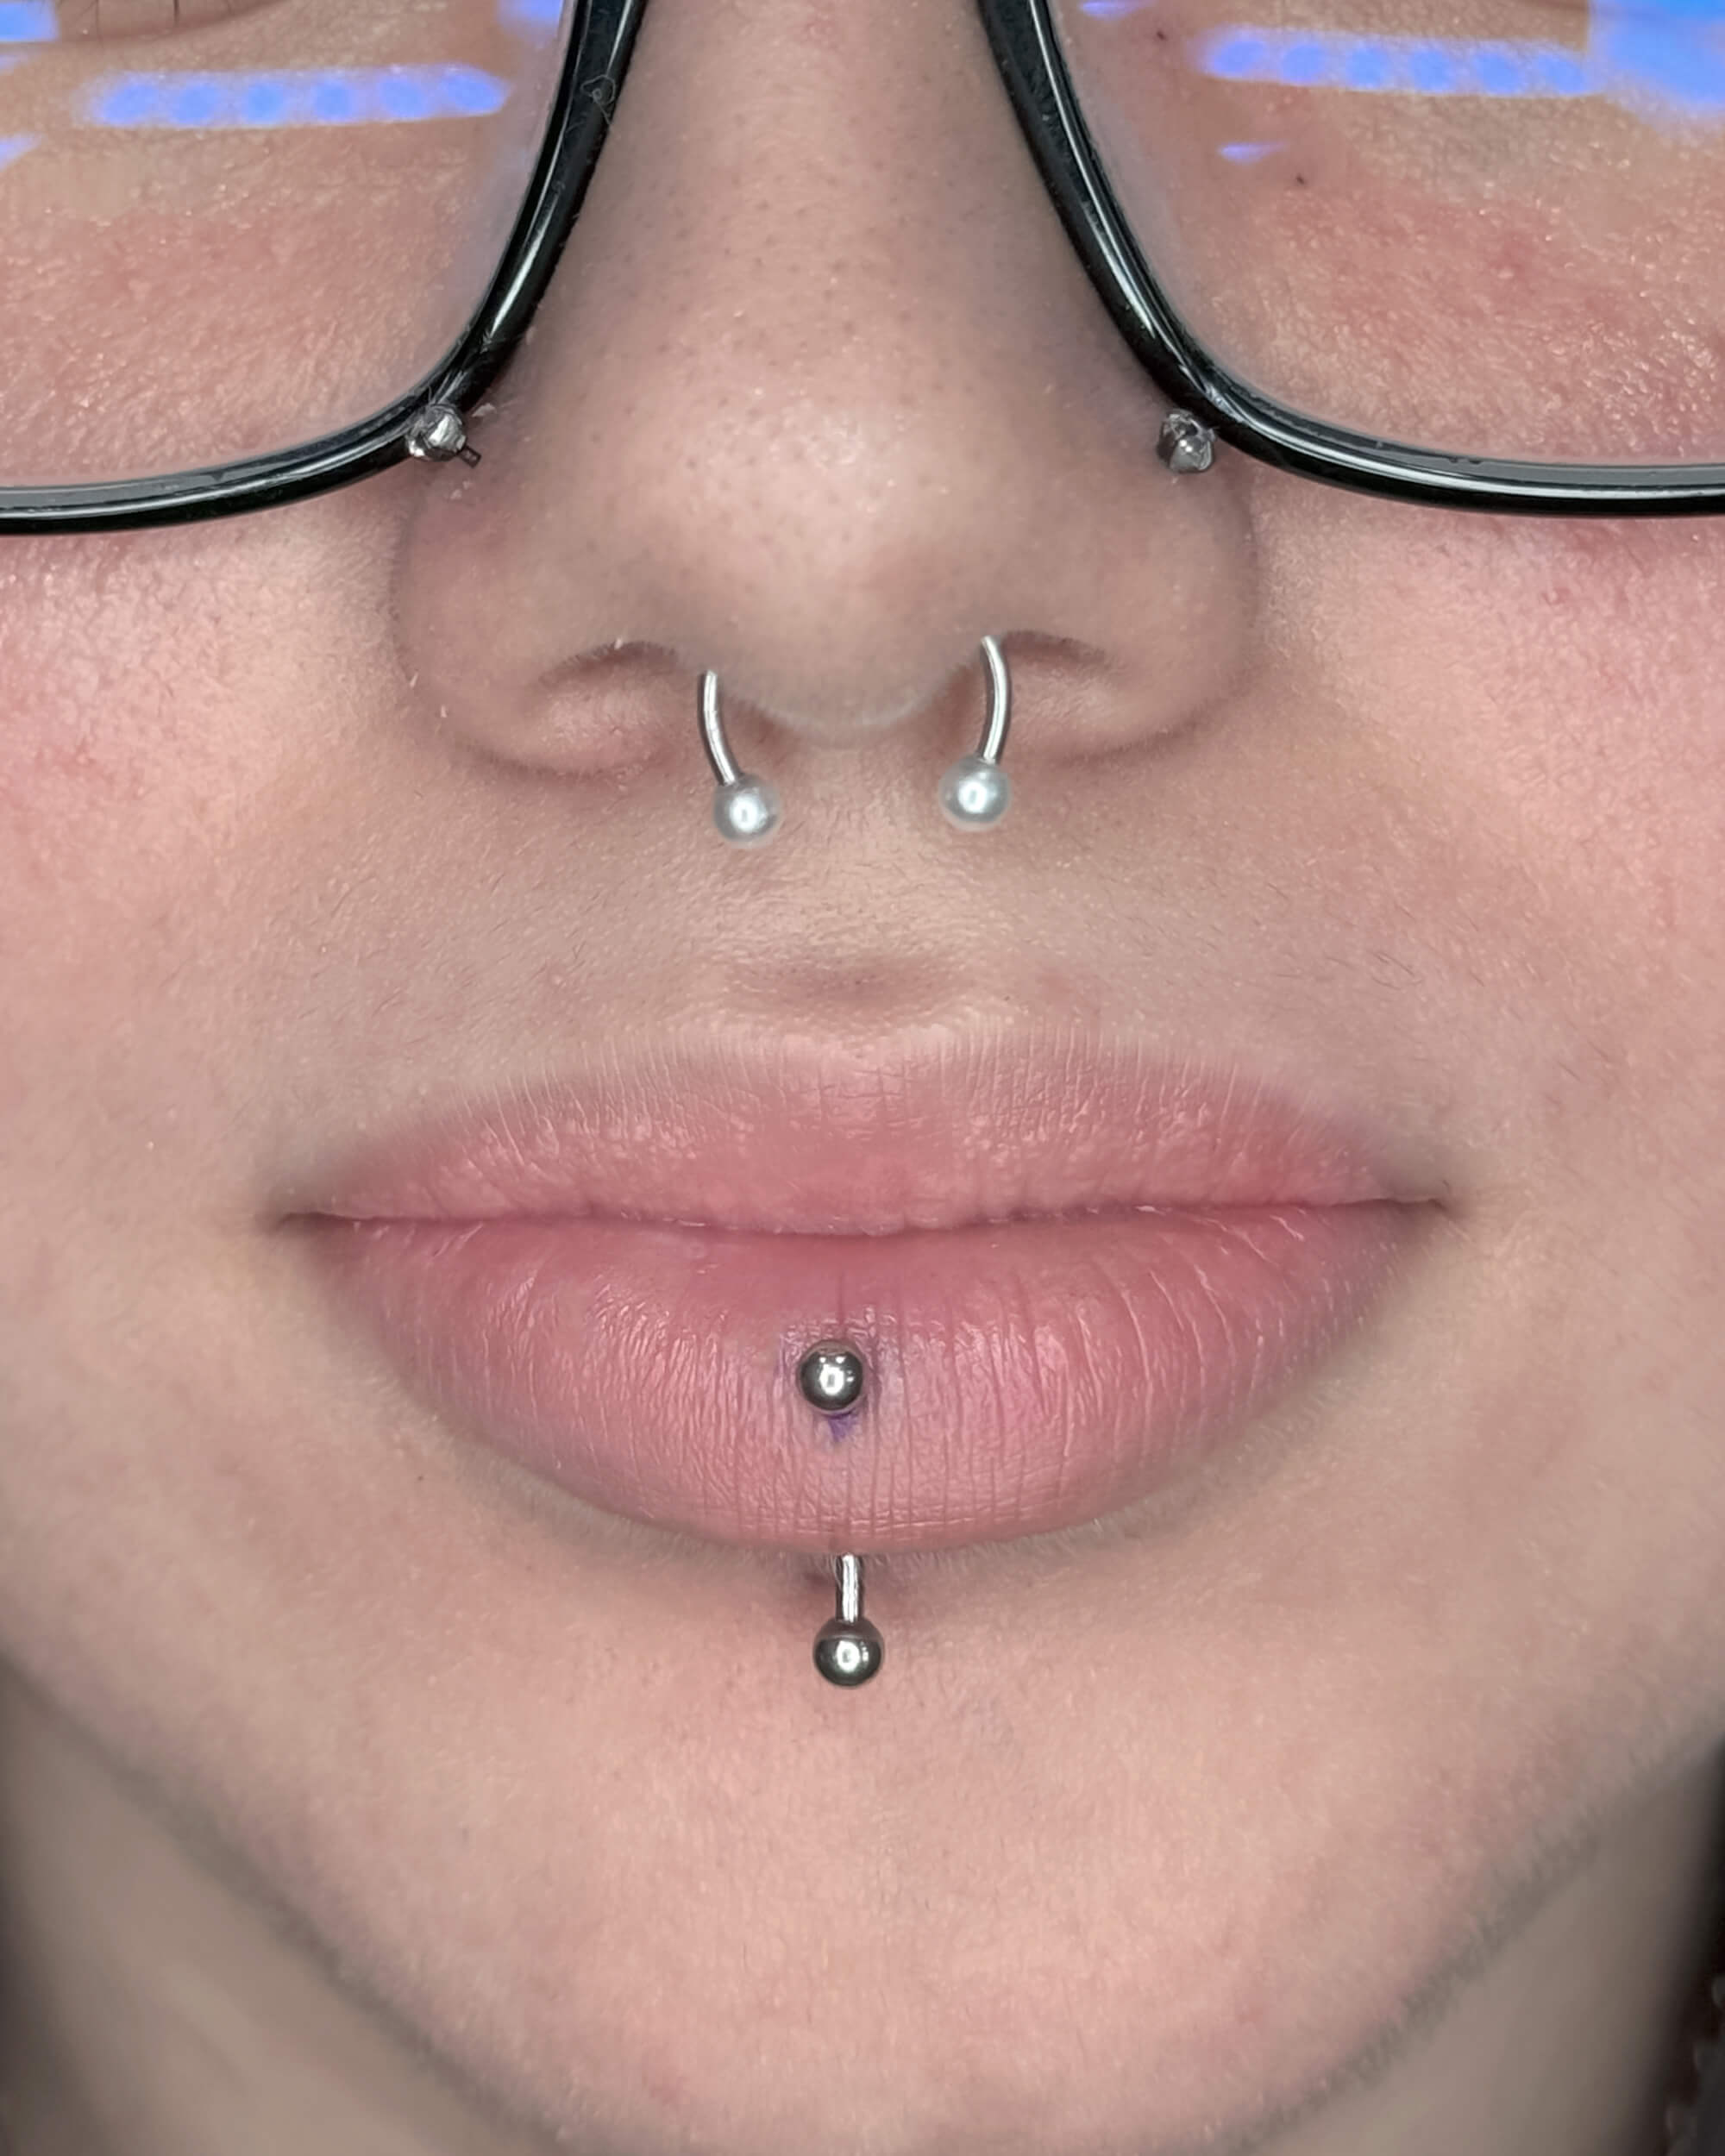
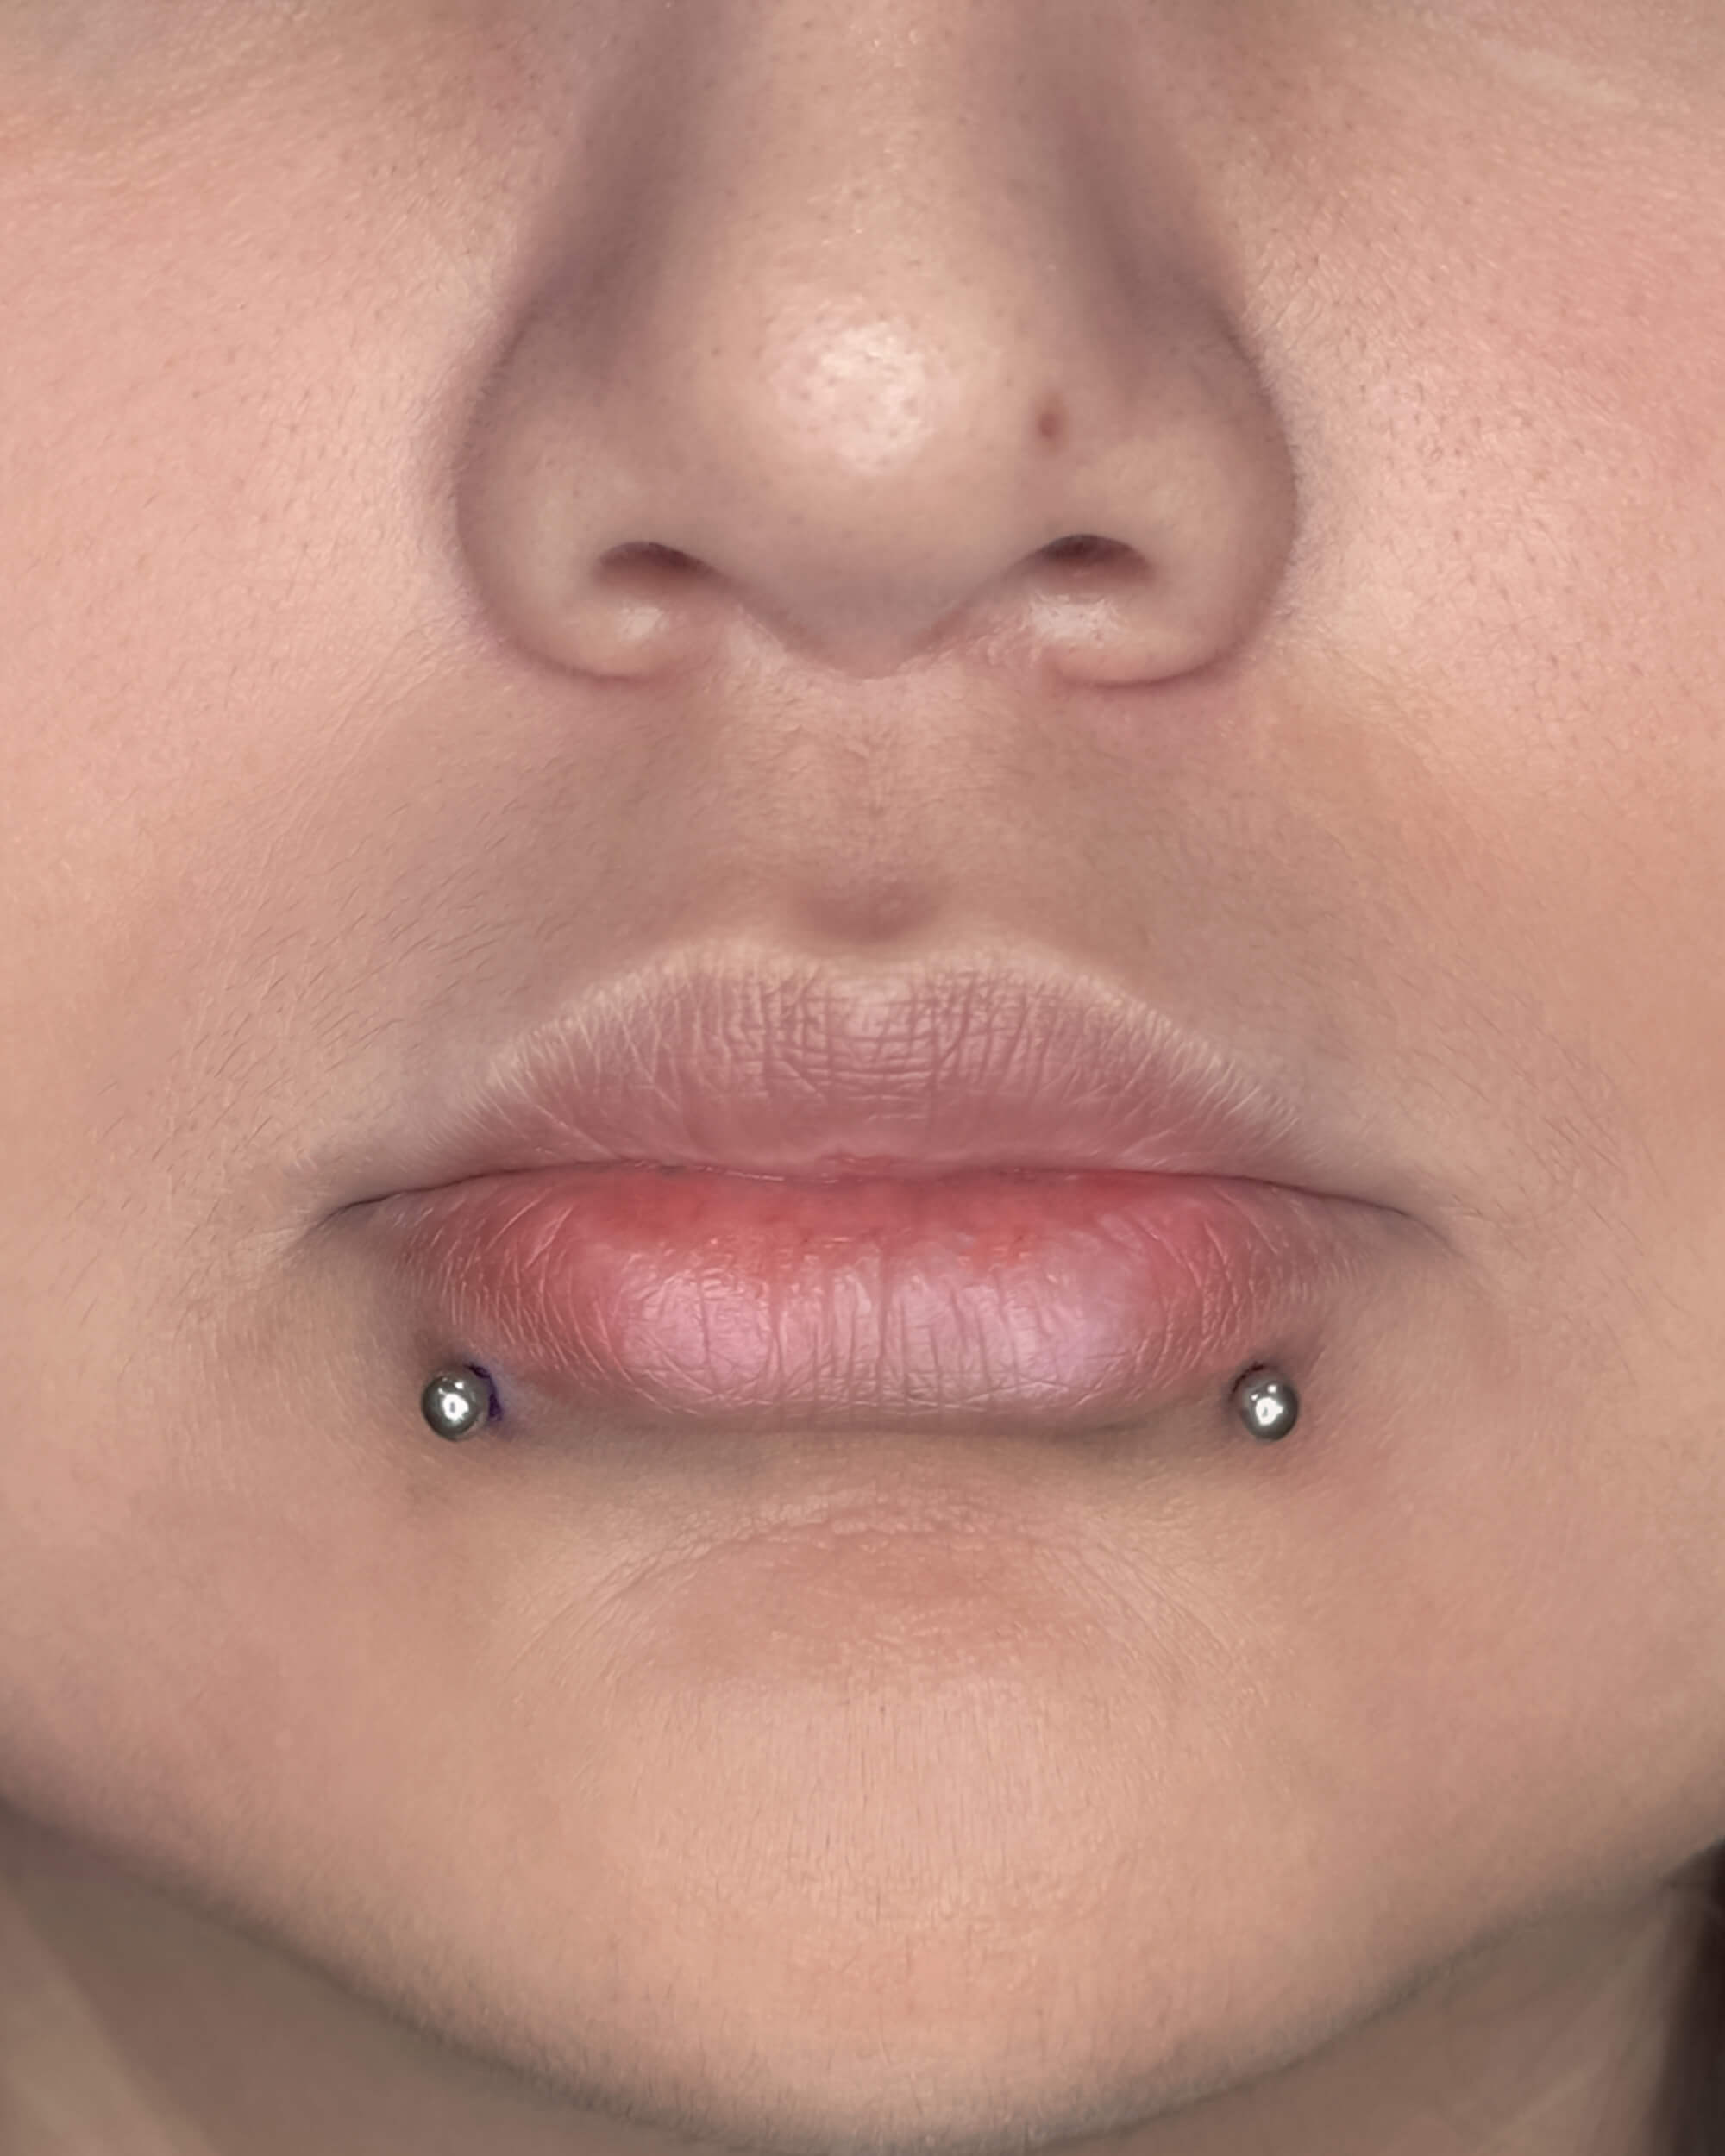
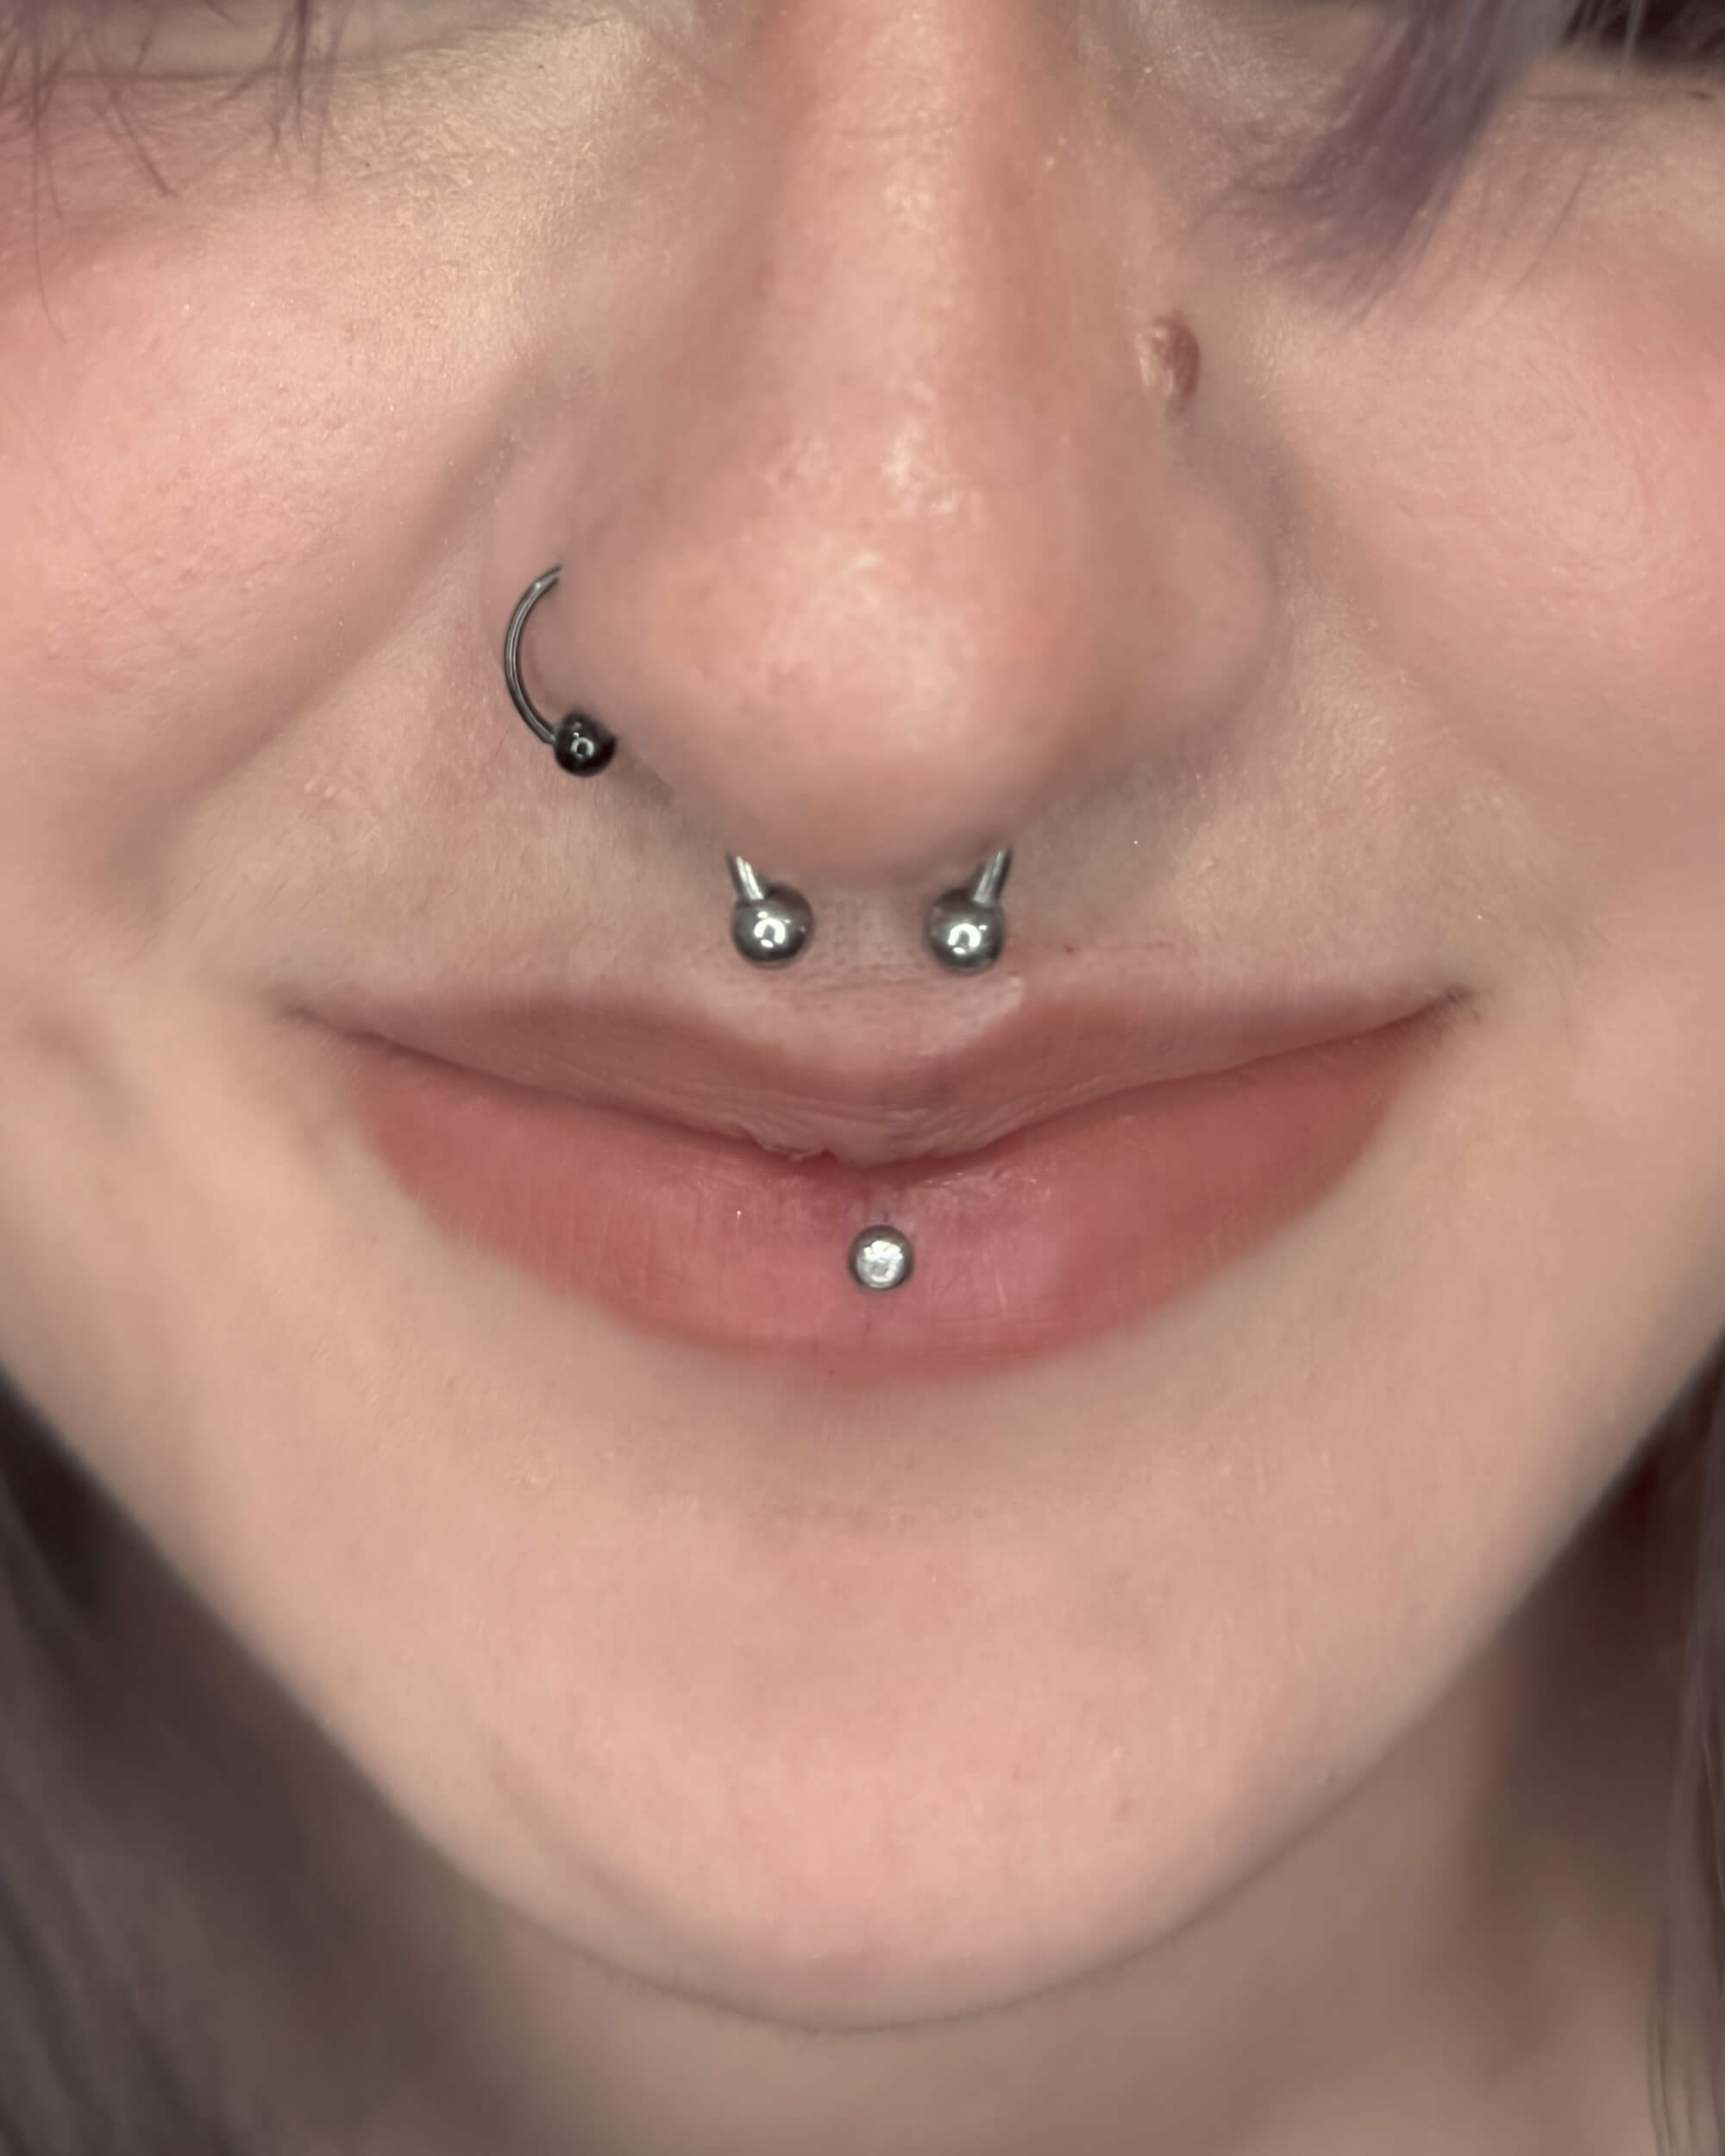
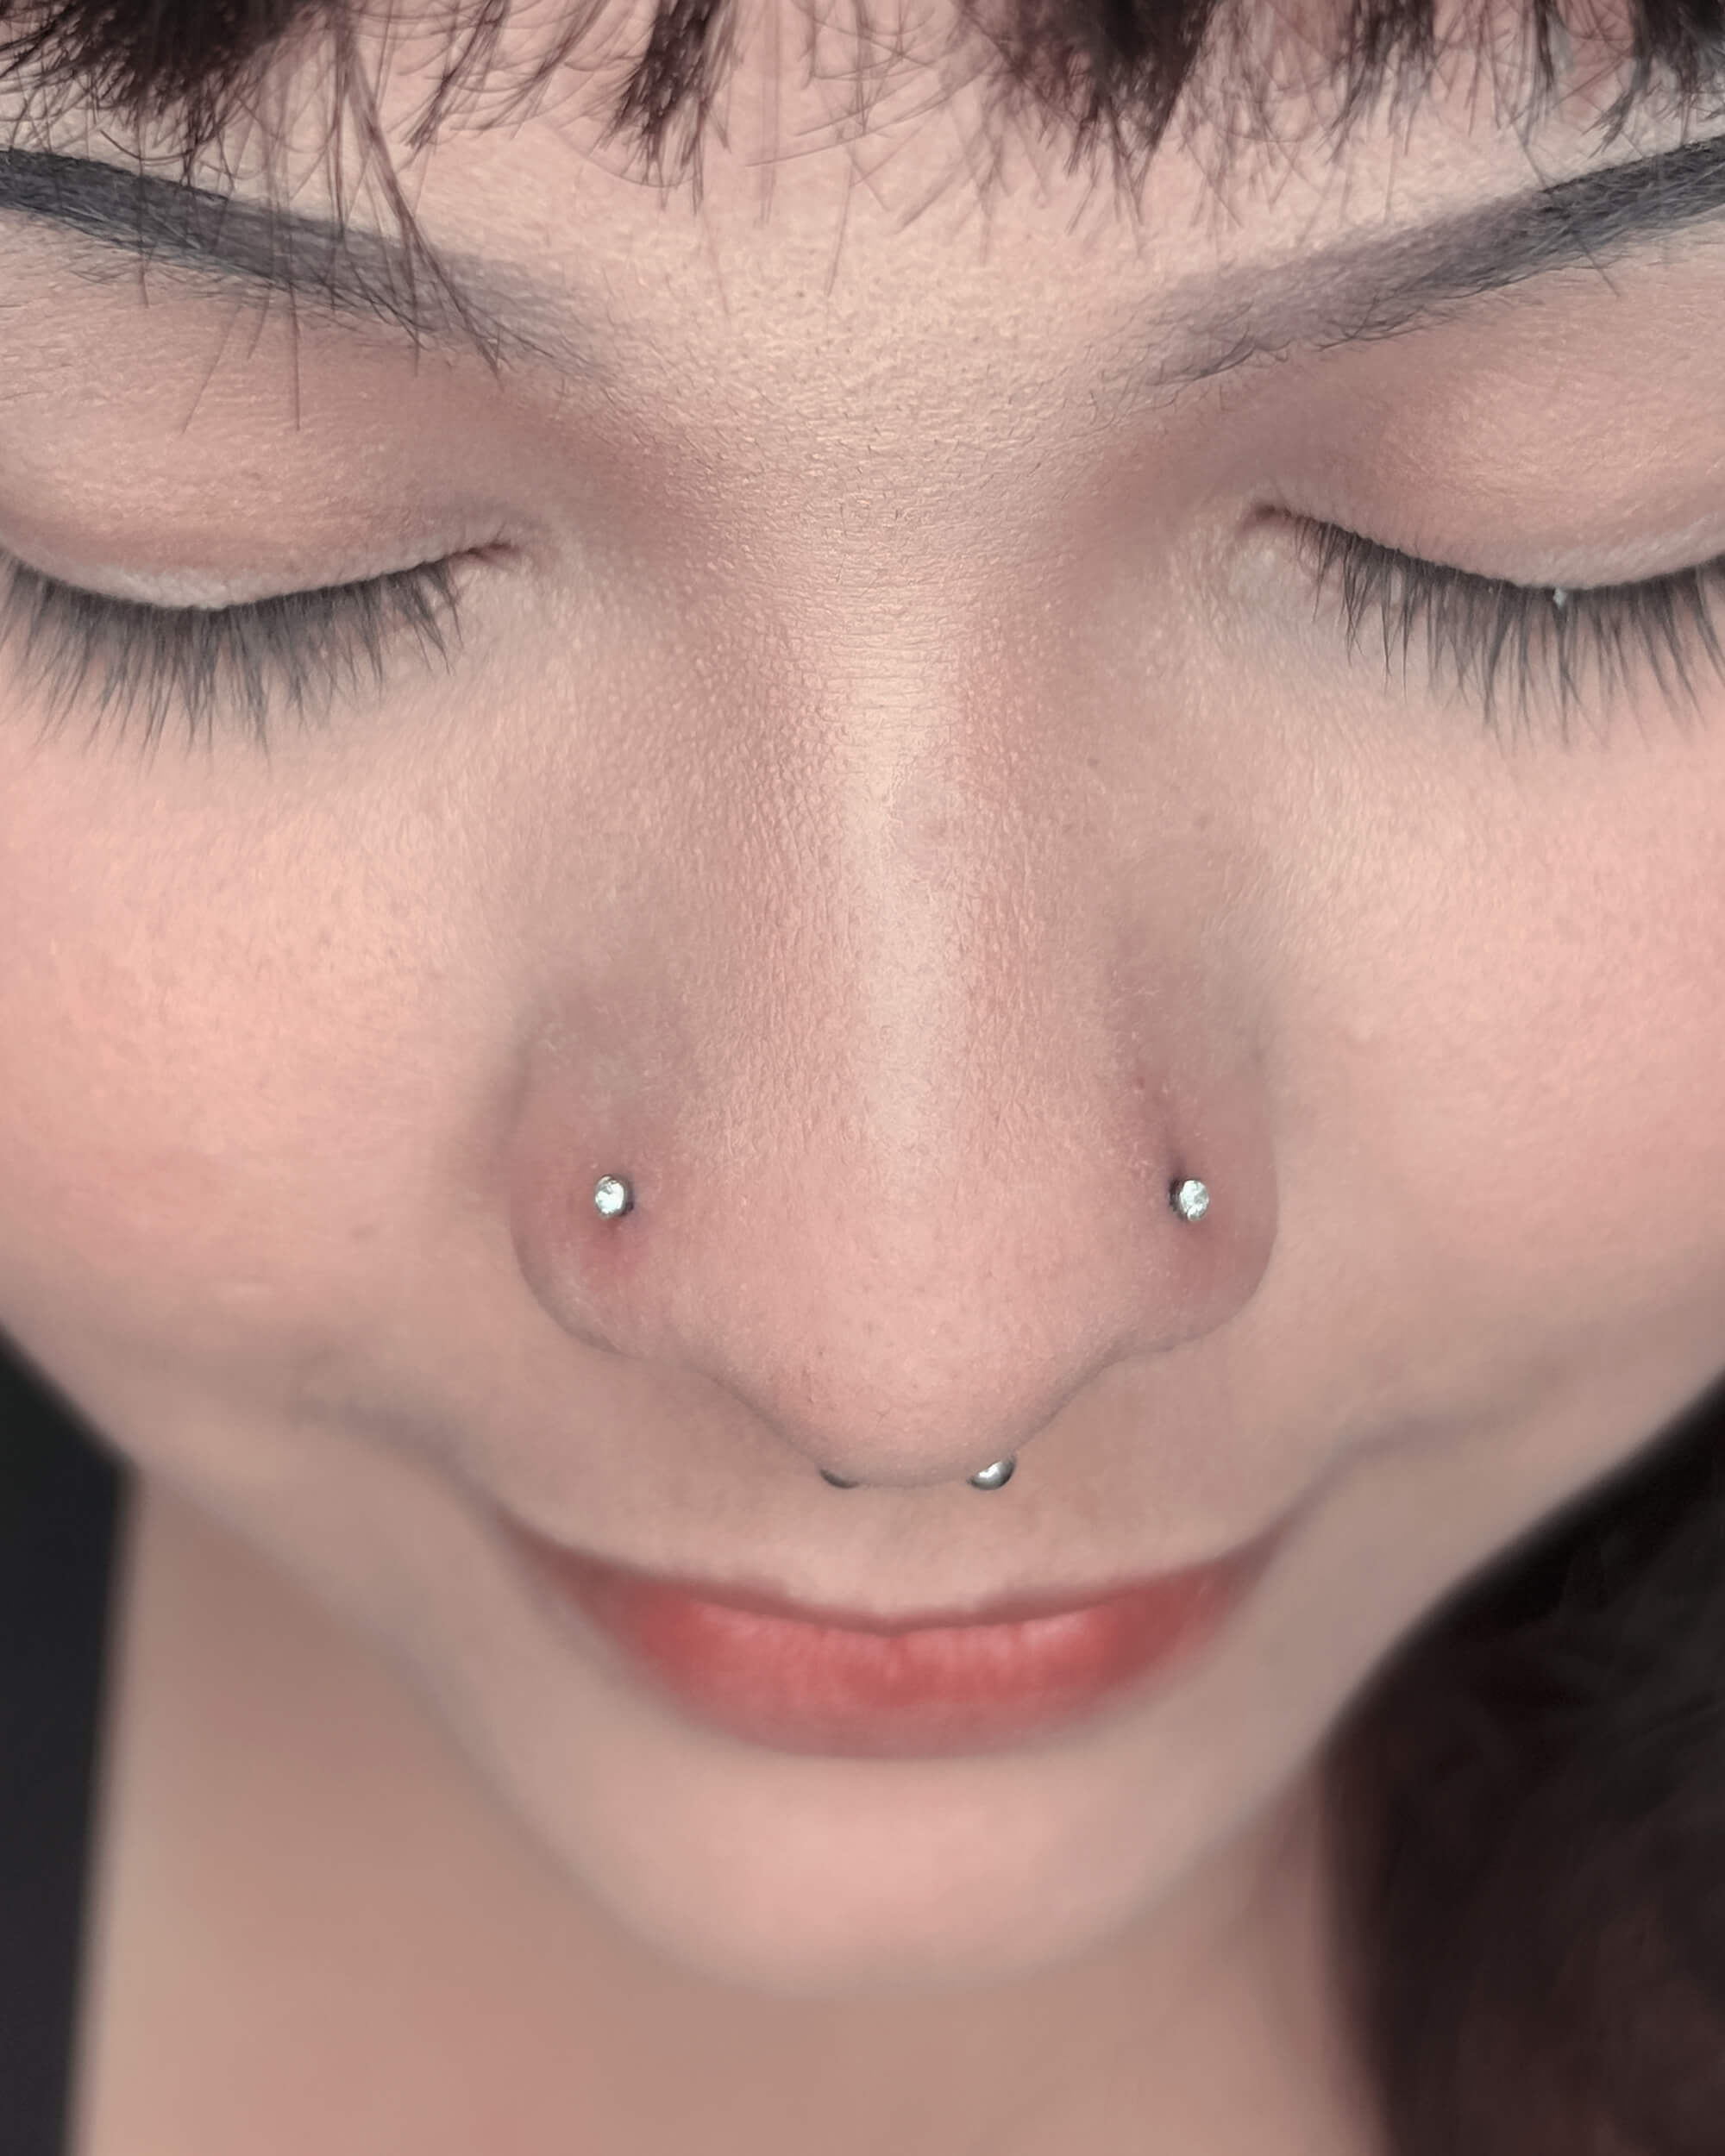
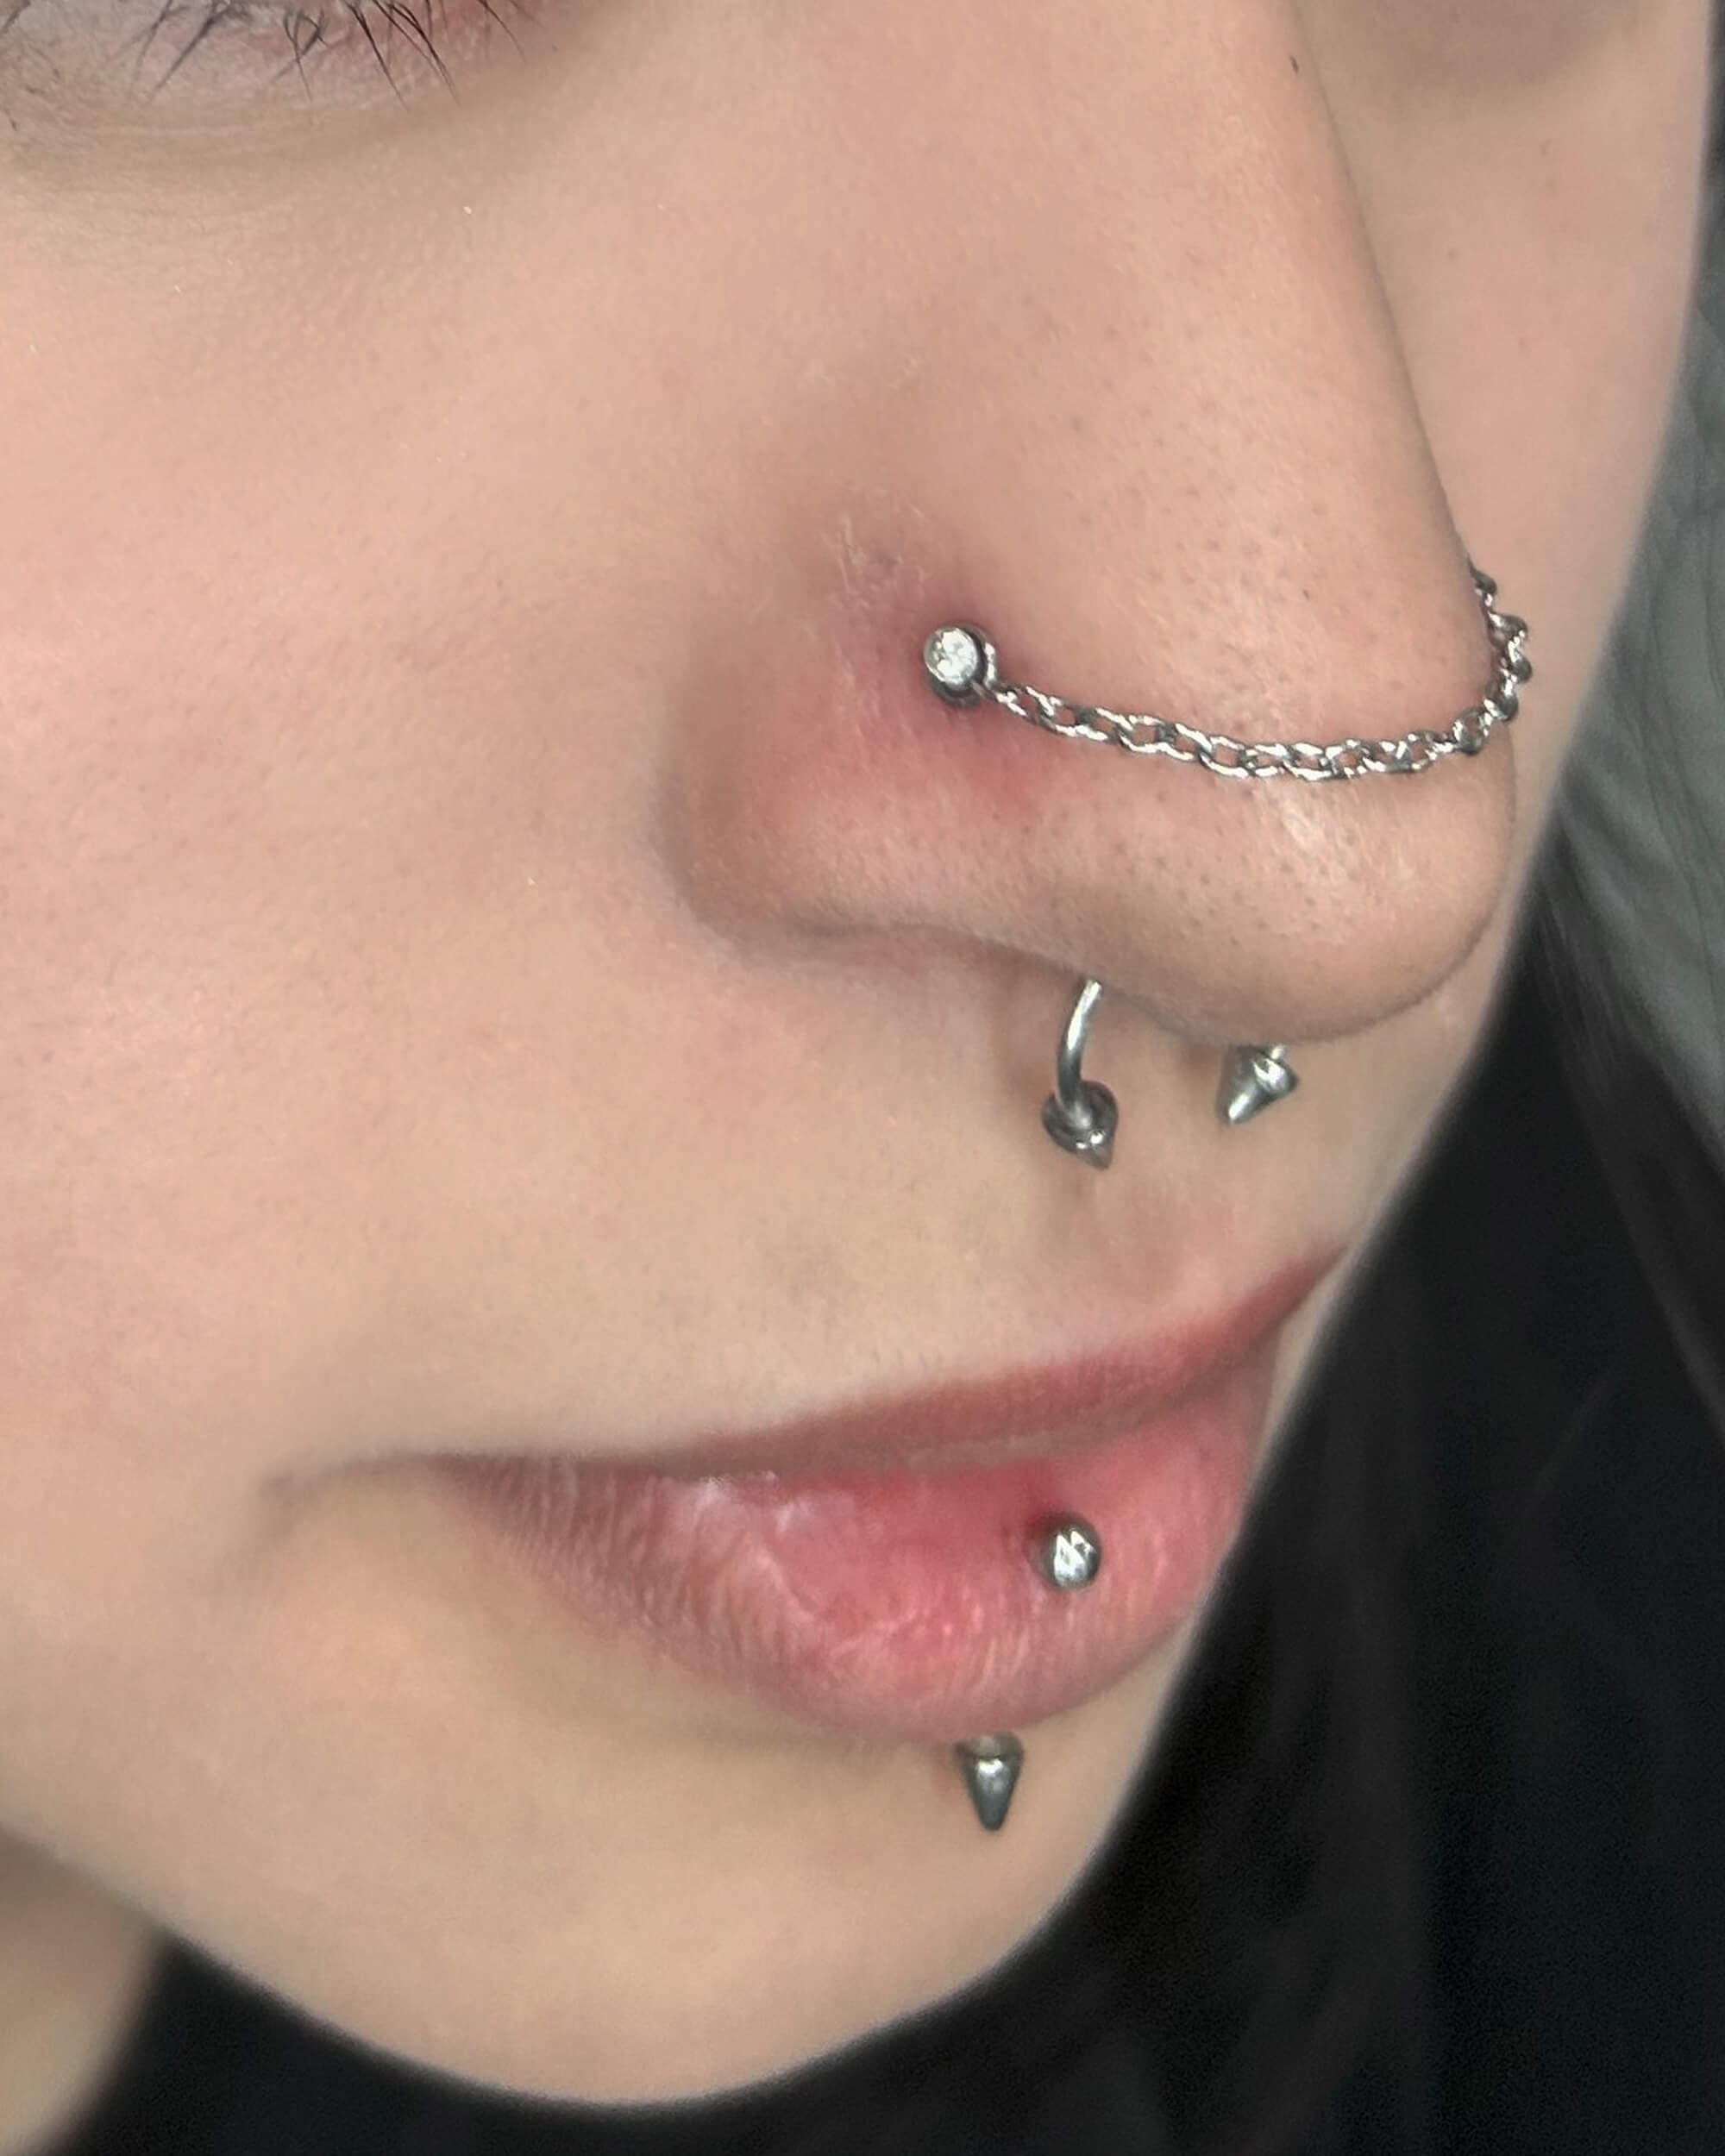
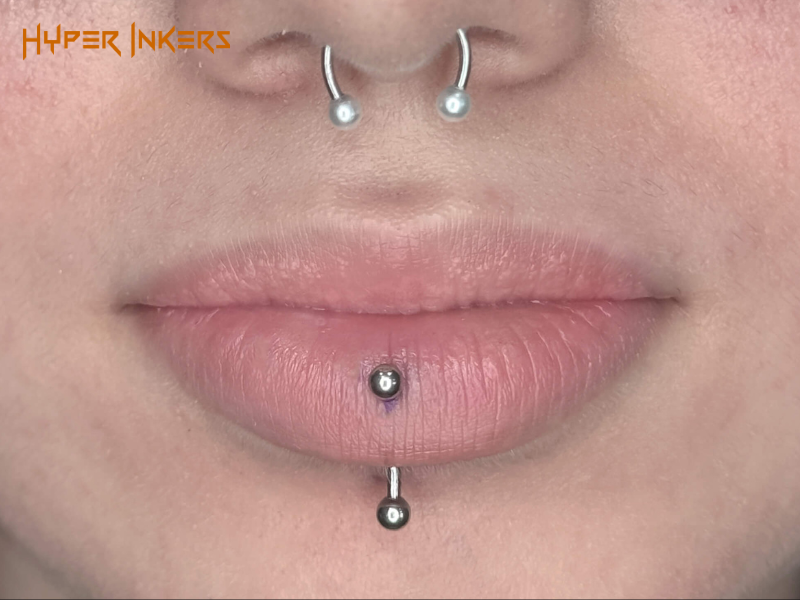
Lip Piercings
Lip piercings can be placed in various positions around the lips, including the lower lip, upper lip, or corners of the mouth. Popular styles include:
- Labret Piercing: Located just below the lower lip.
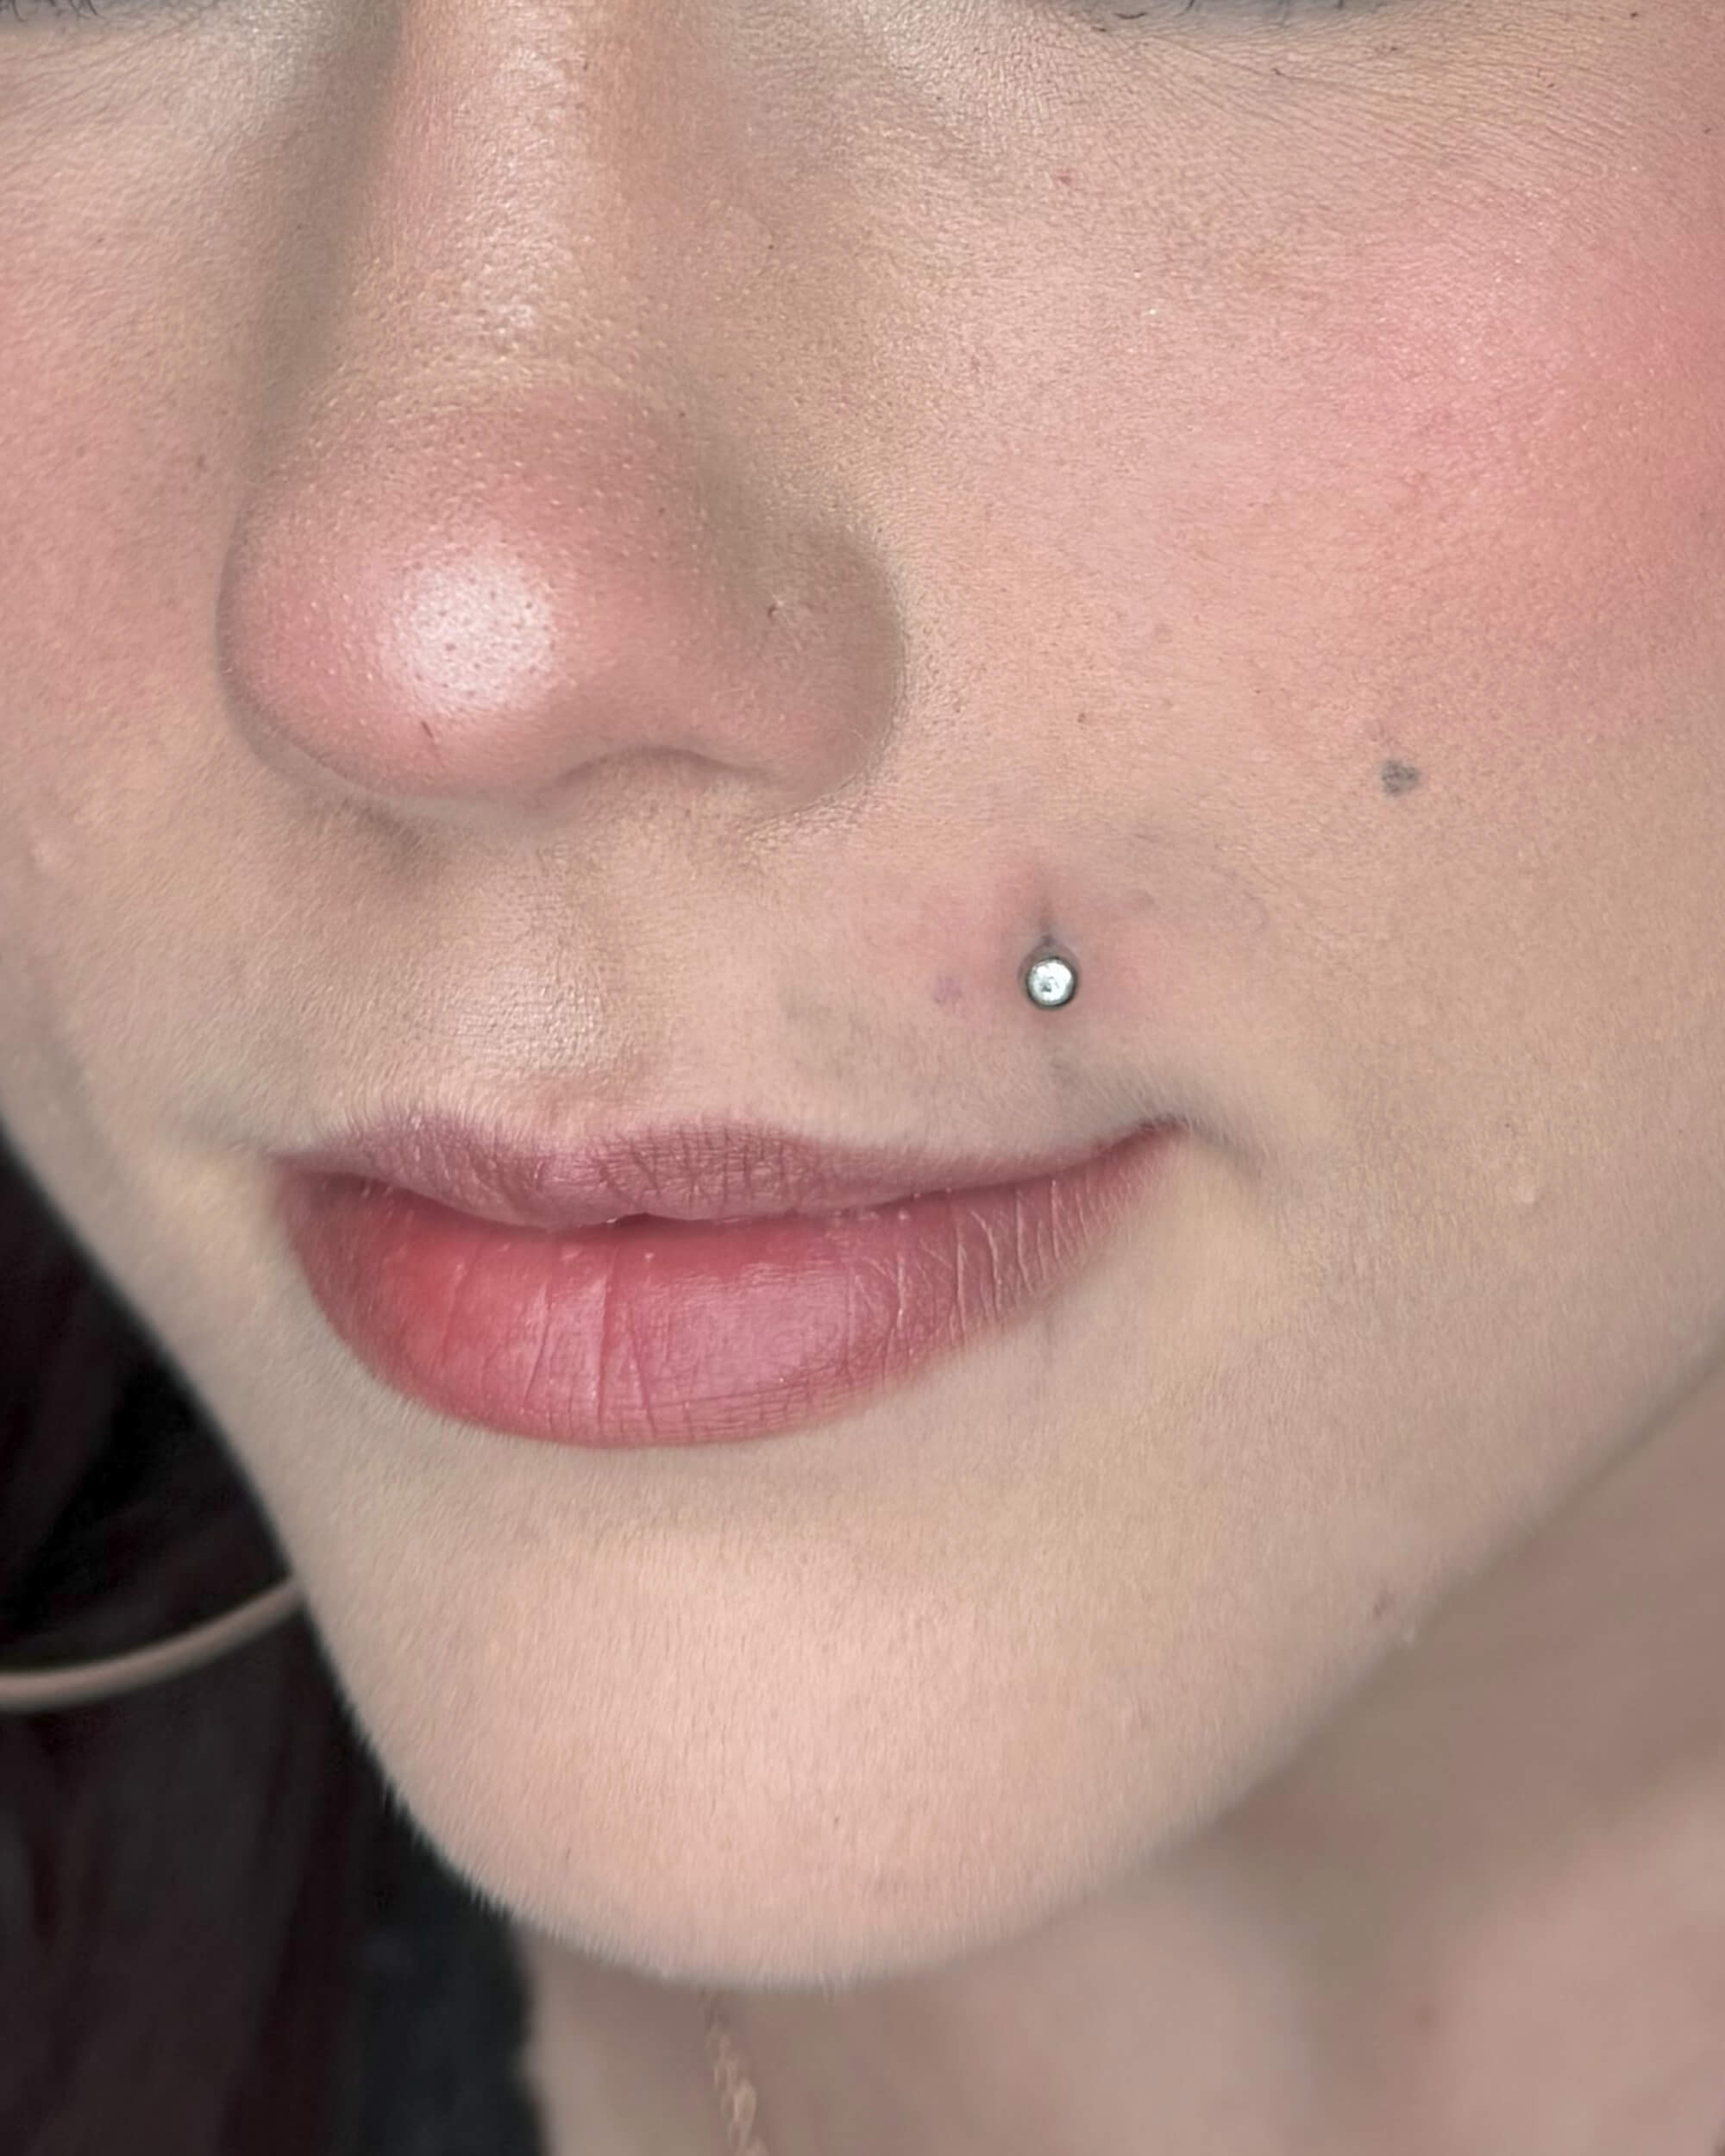
- Monroe Piercing: Placed on the upper lip, off to one side, resembling Marilyn Monroe’s beauty mark.
- Medusa Piercing: Situated in the philtrum, the groove above the upper lip.
Lip piercings generally take longer to heal than tongue piercings (typically 6 to 8 weeks) and require diligent oral hygiene to prevent infection.
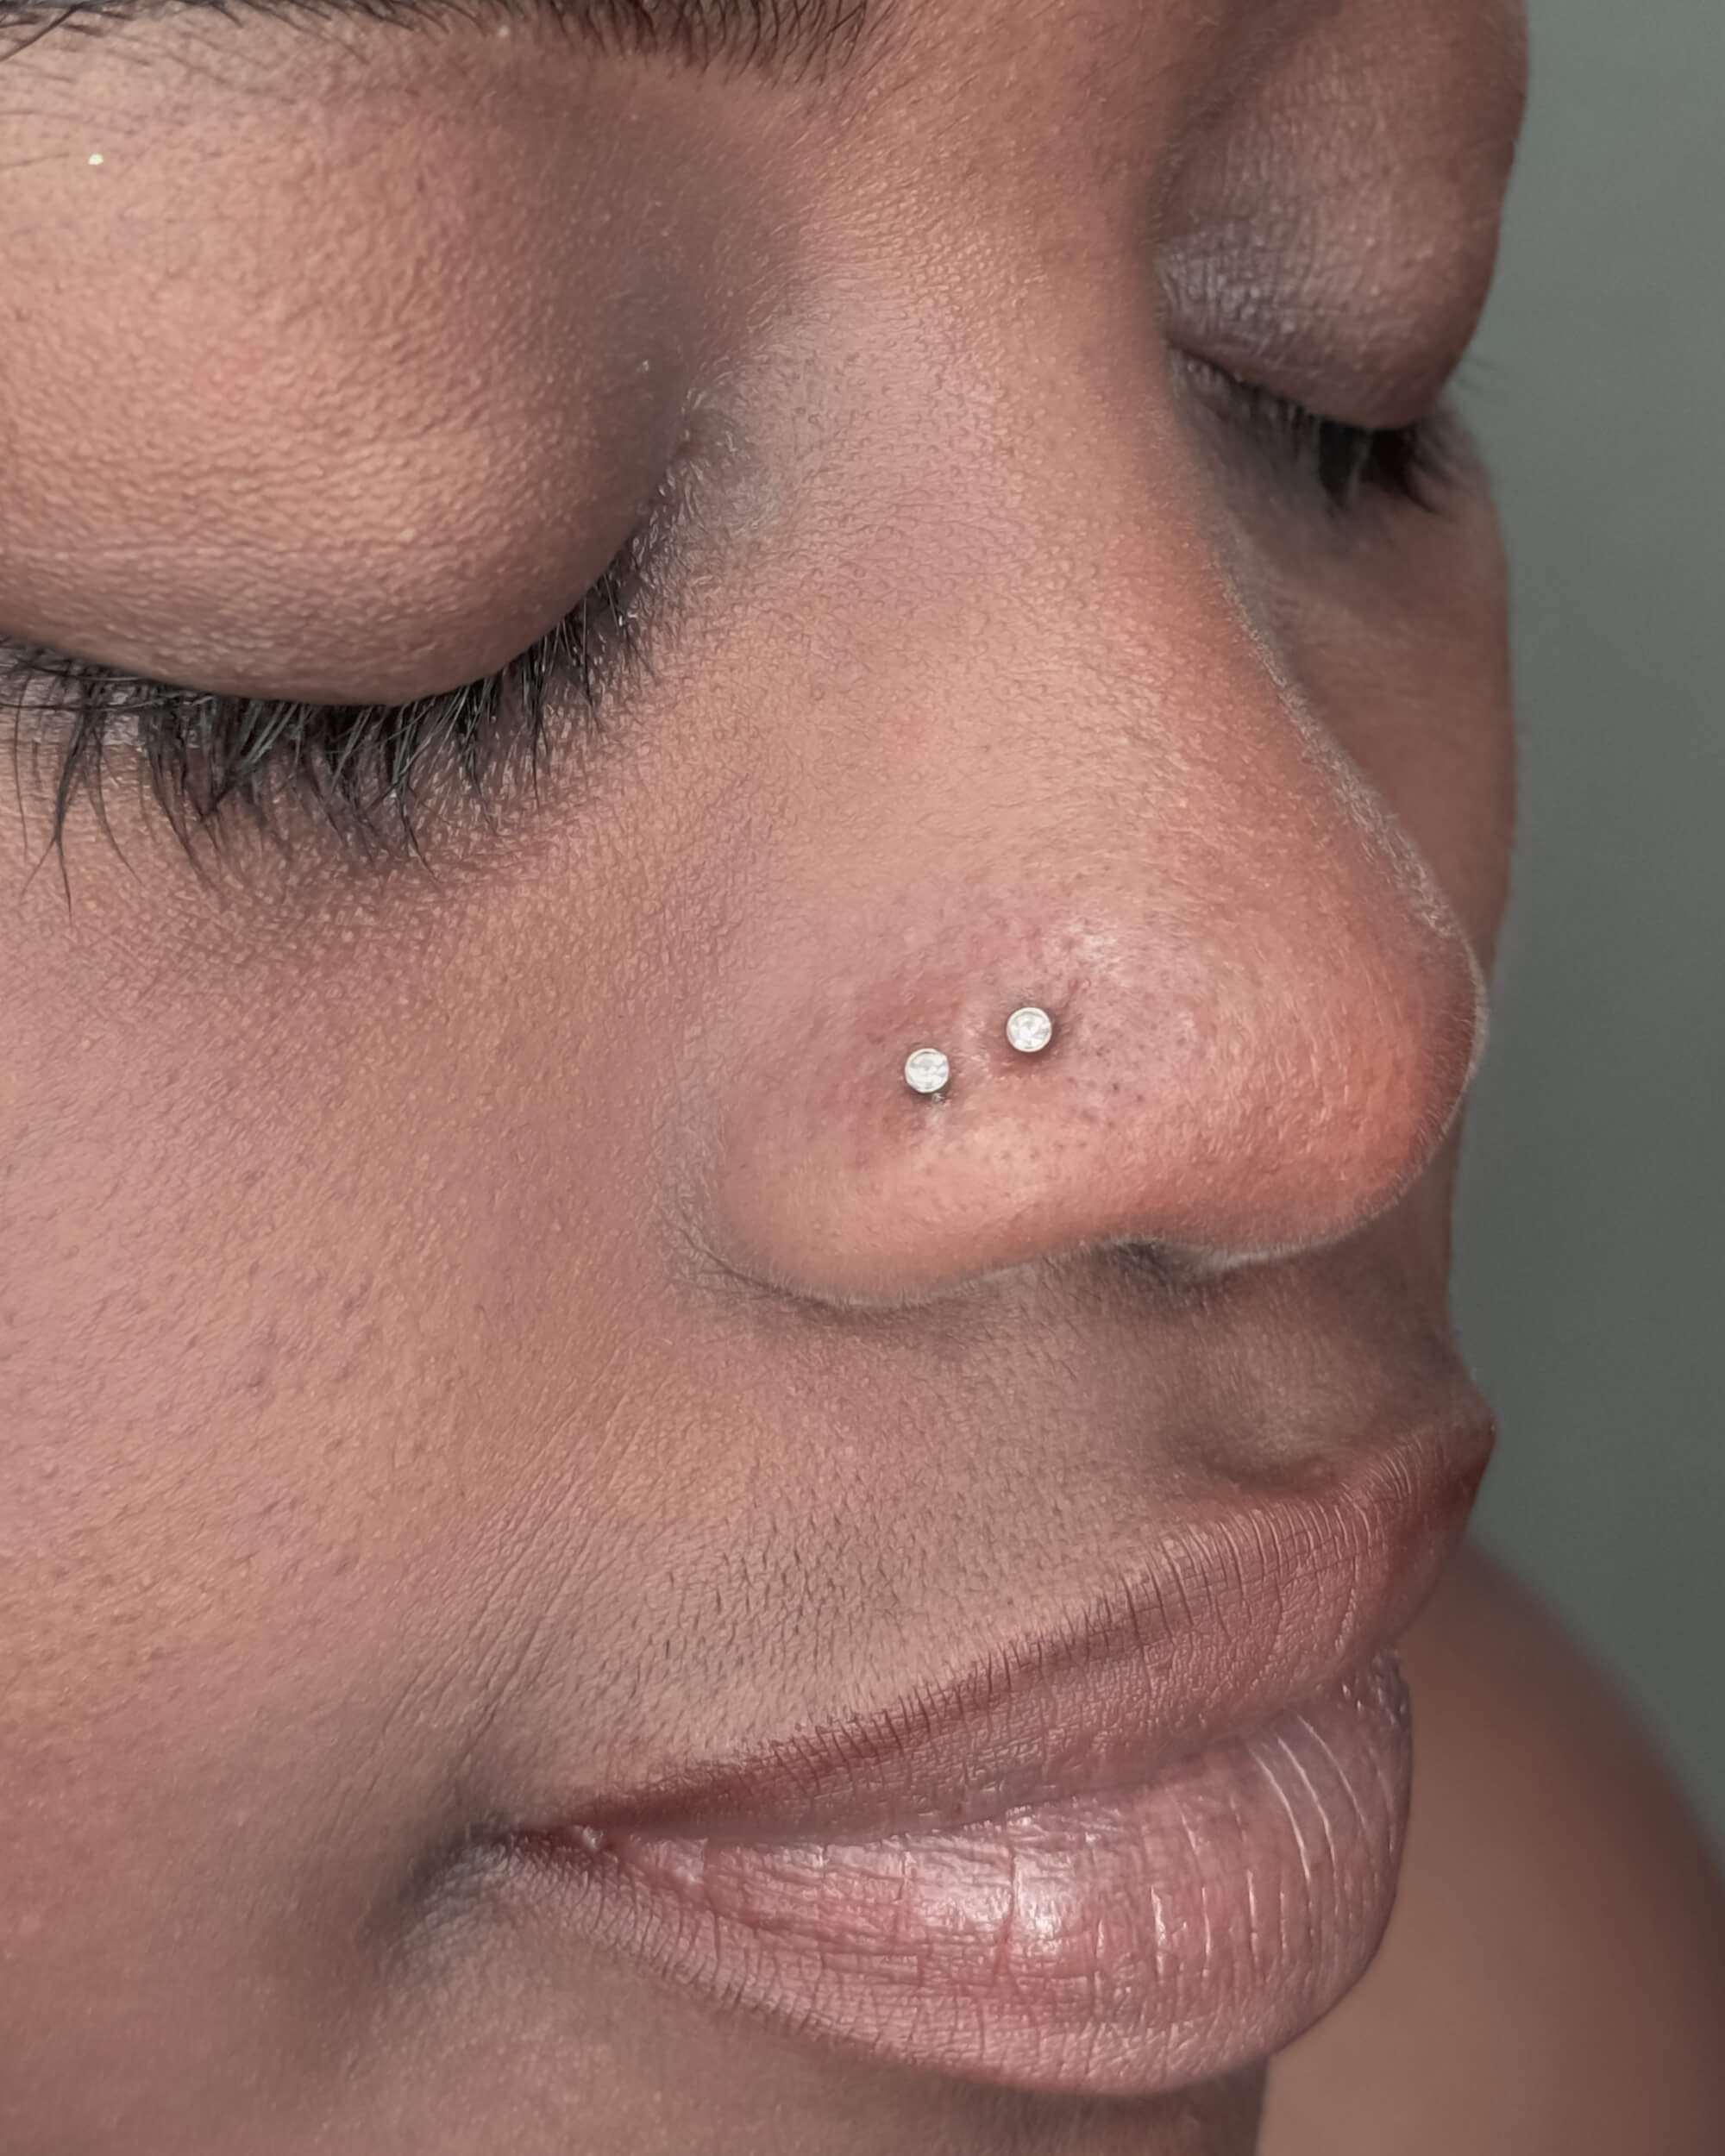
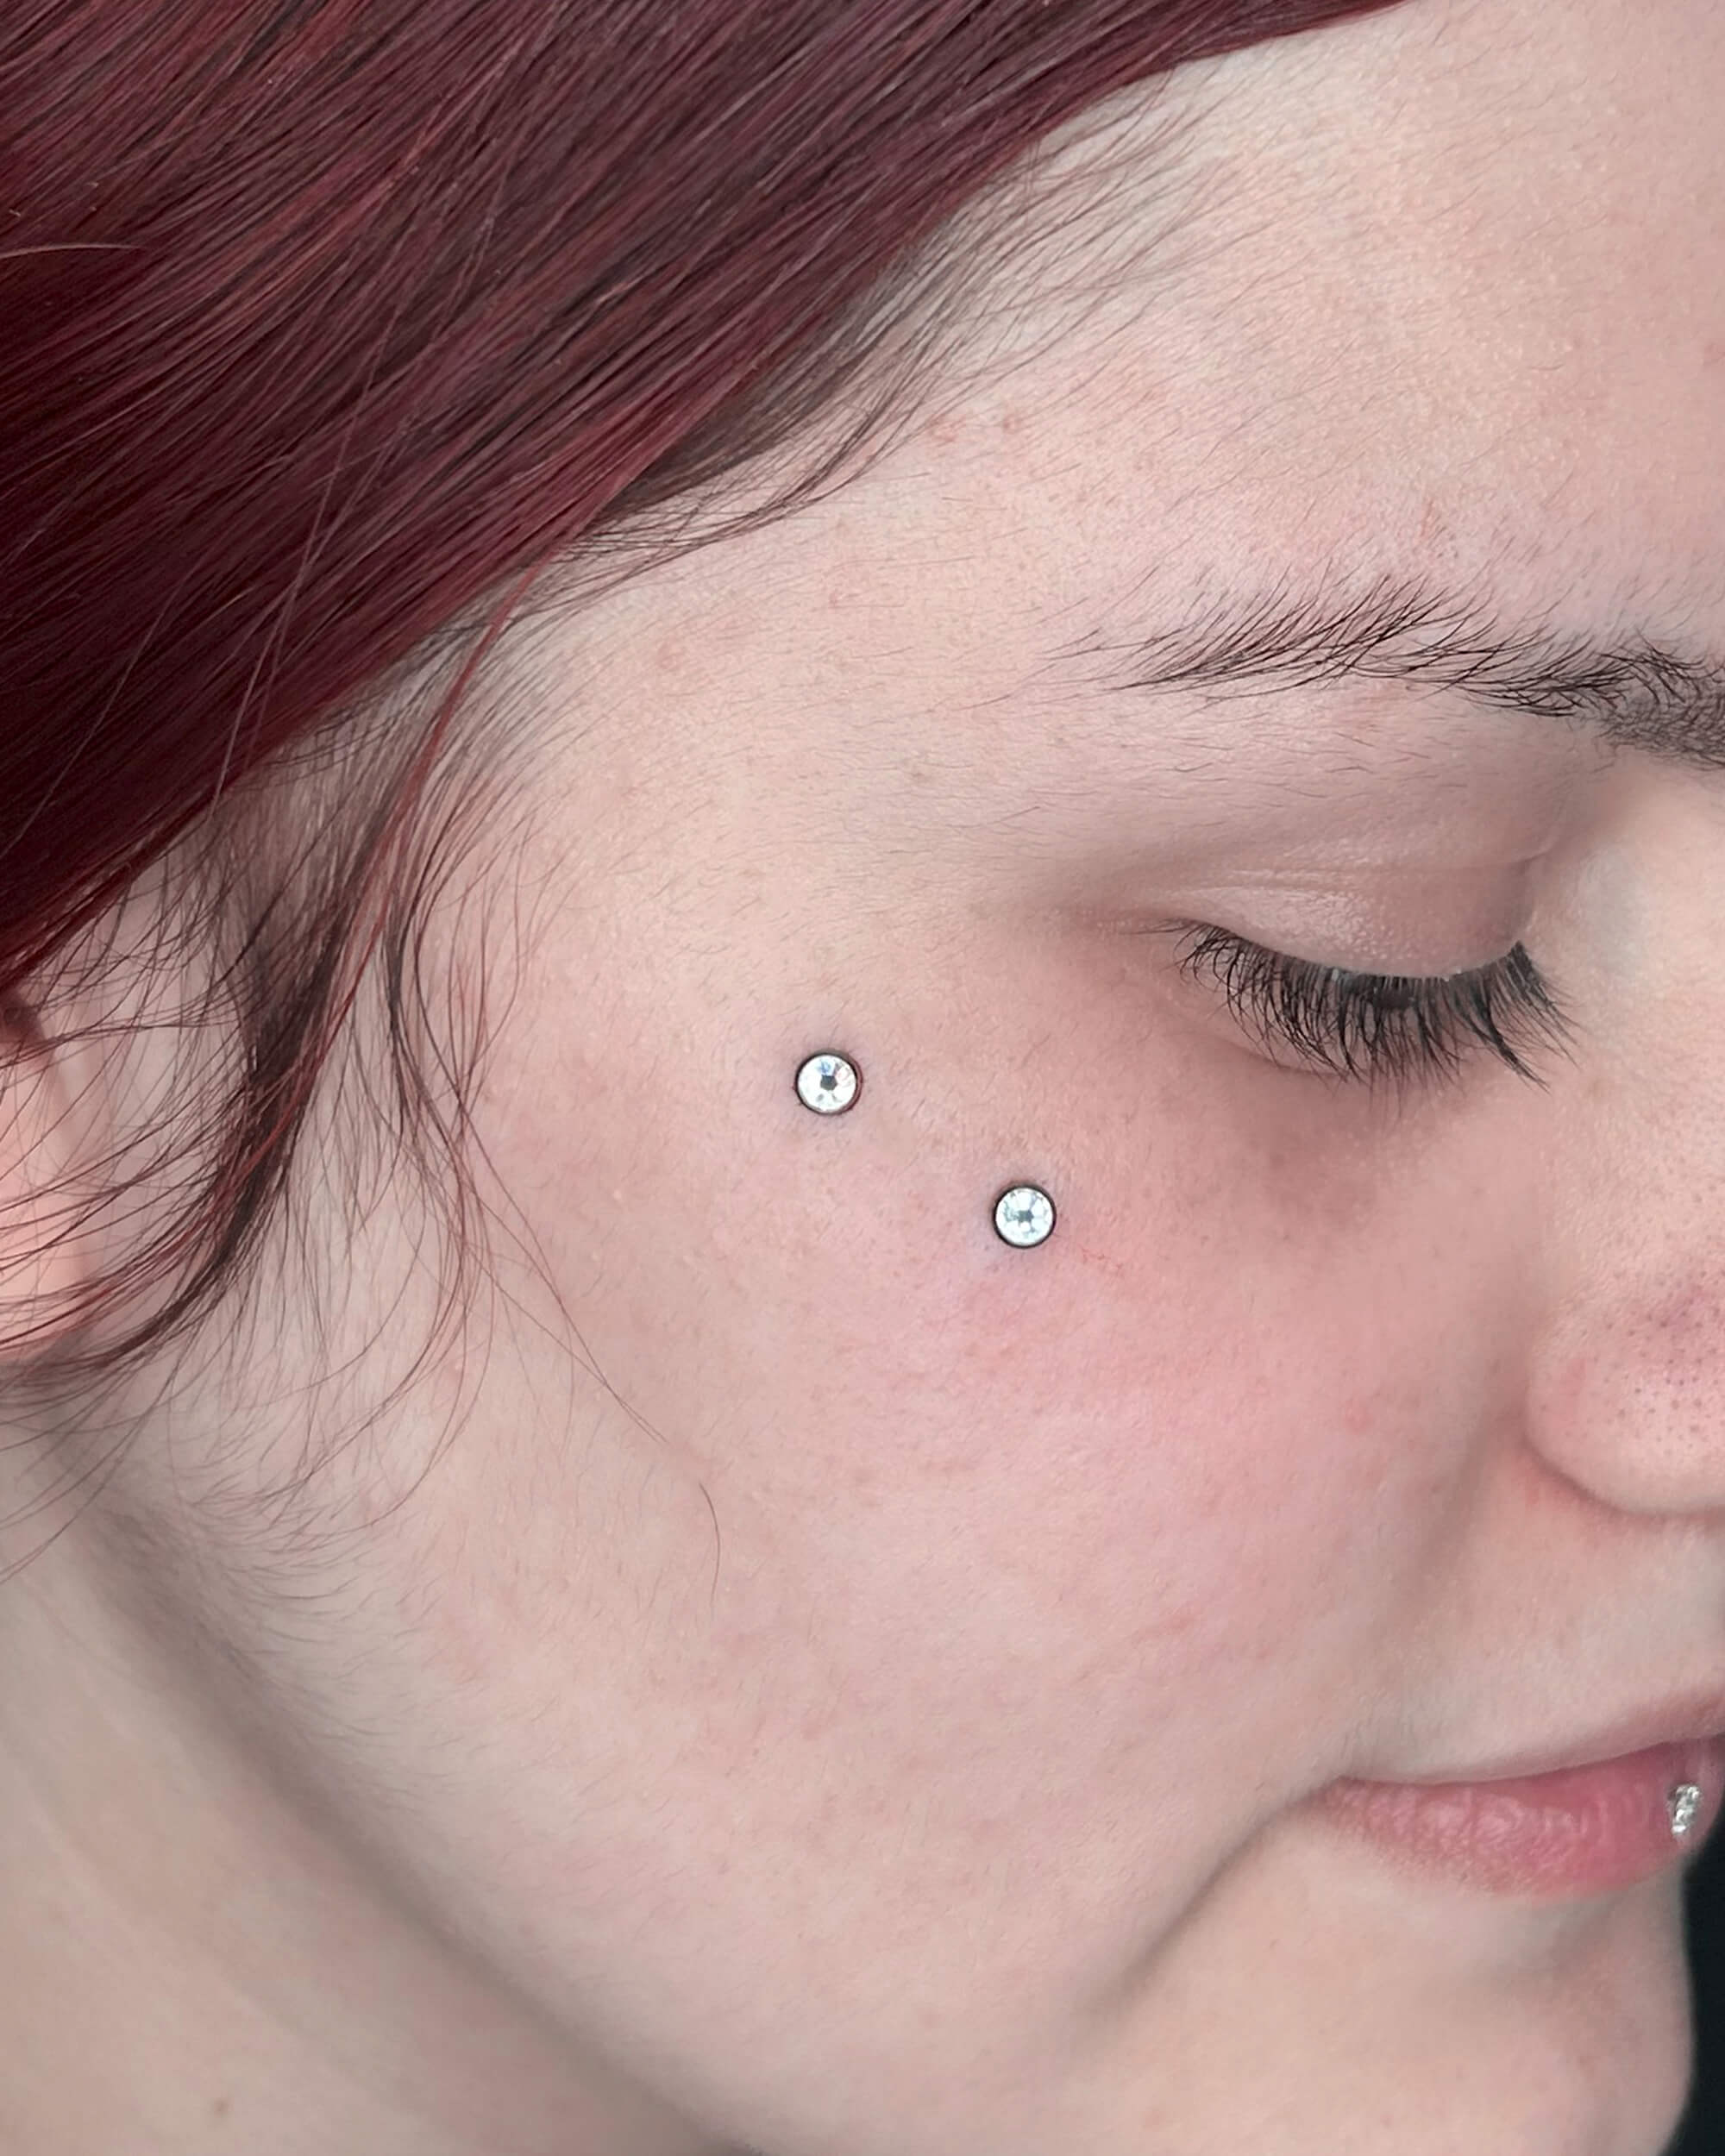
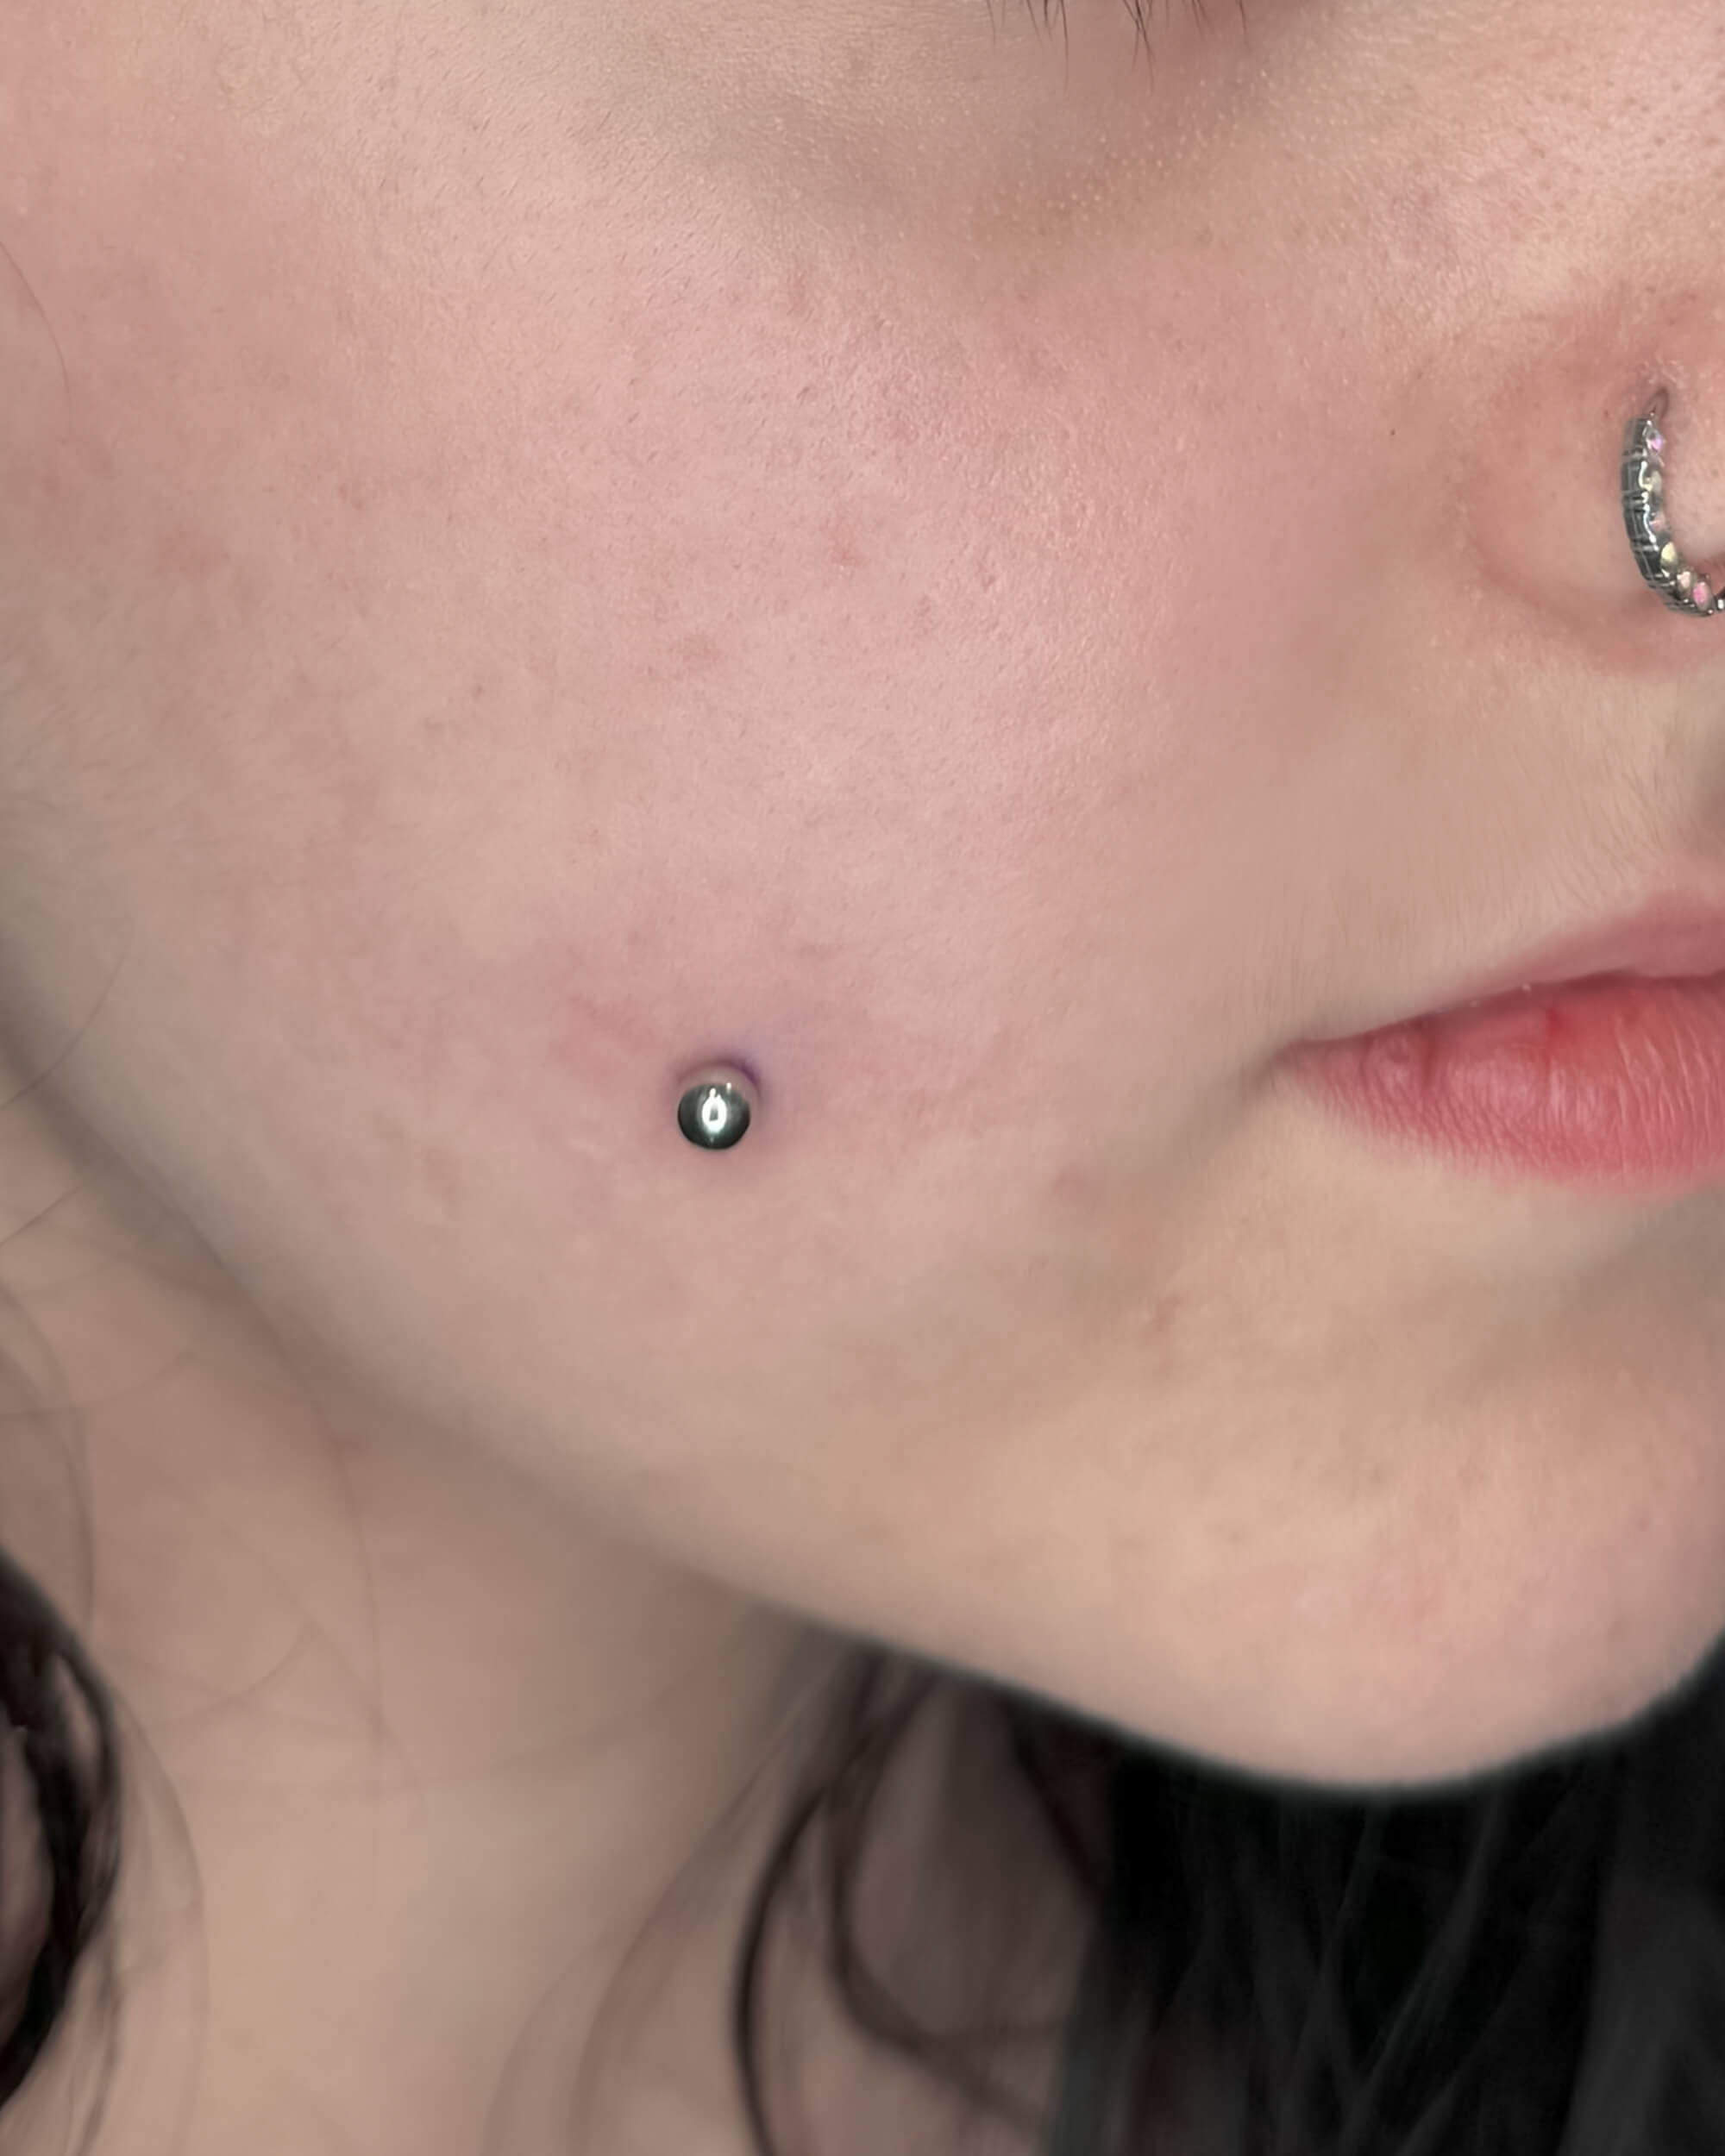
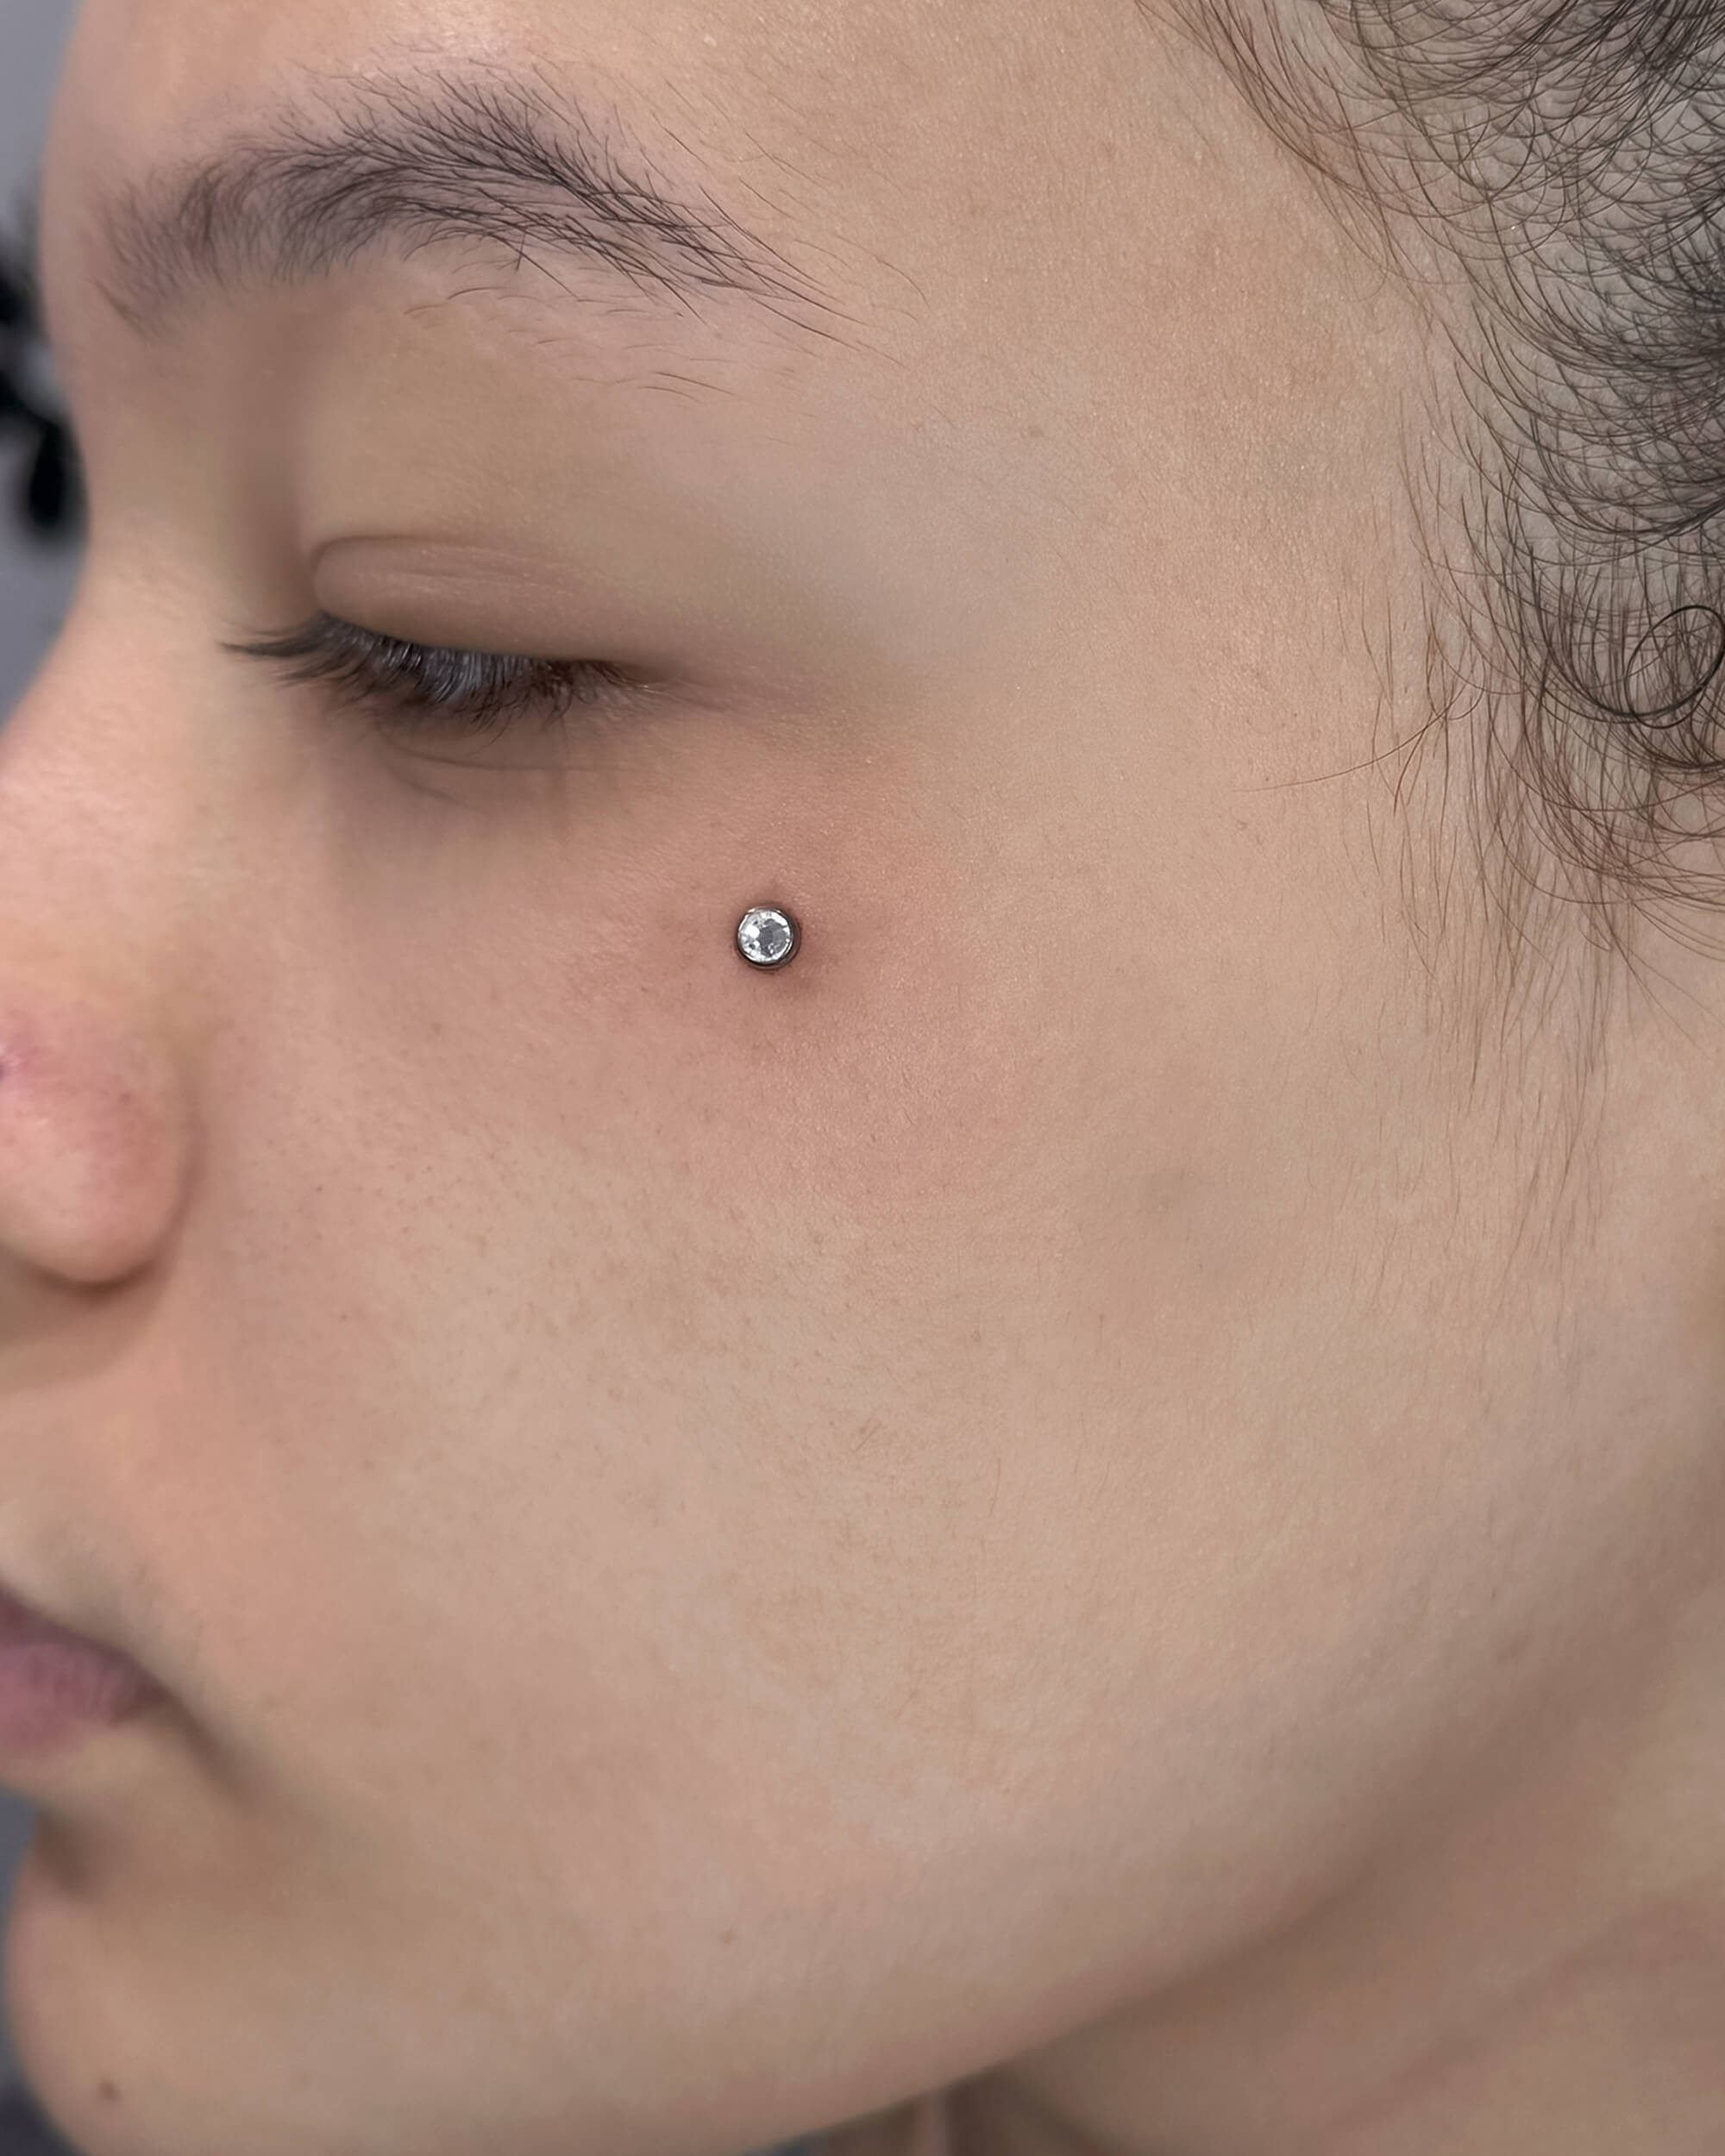
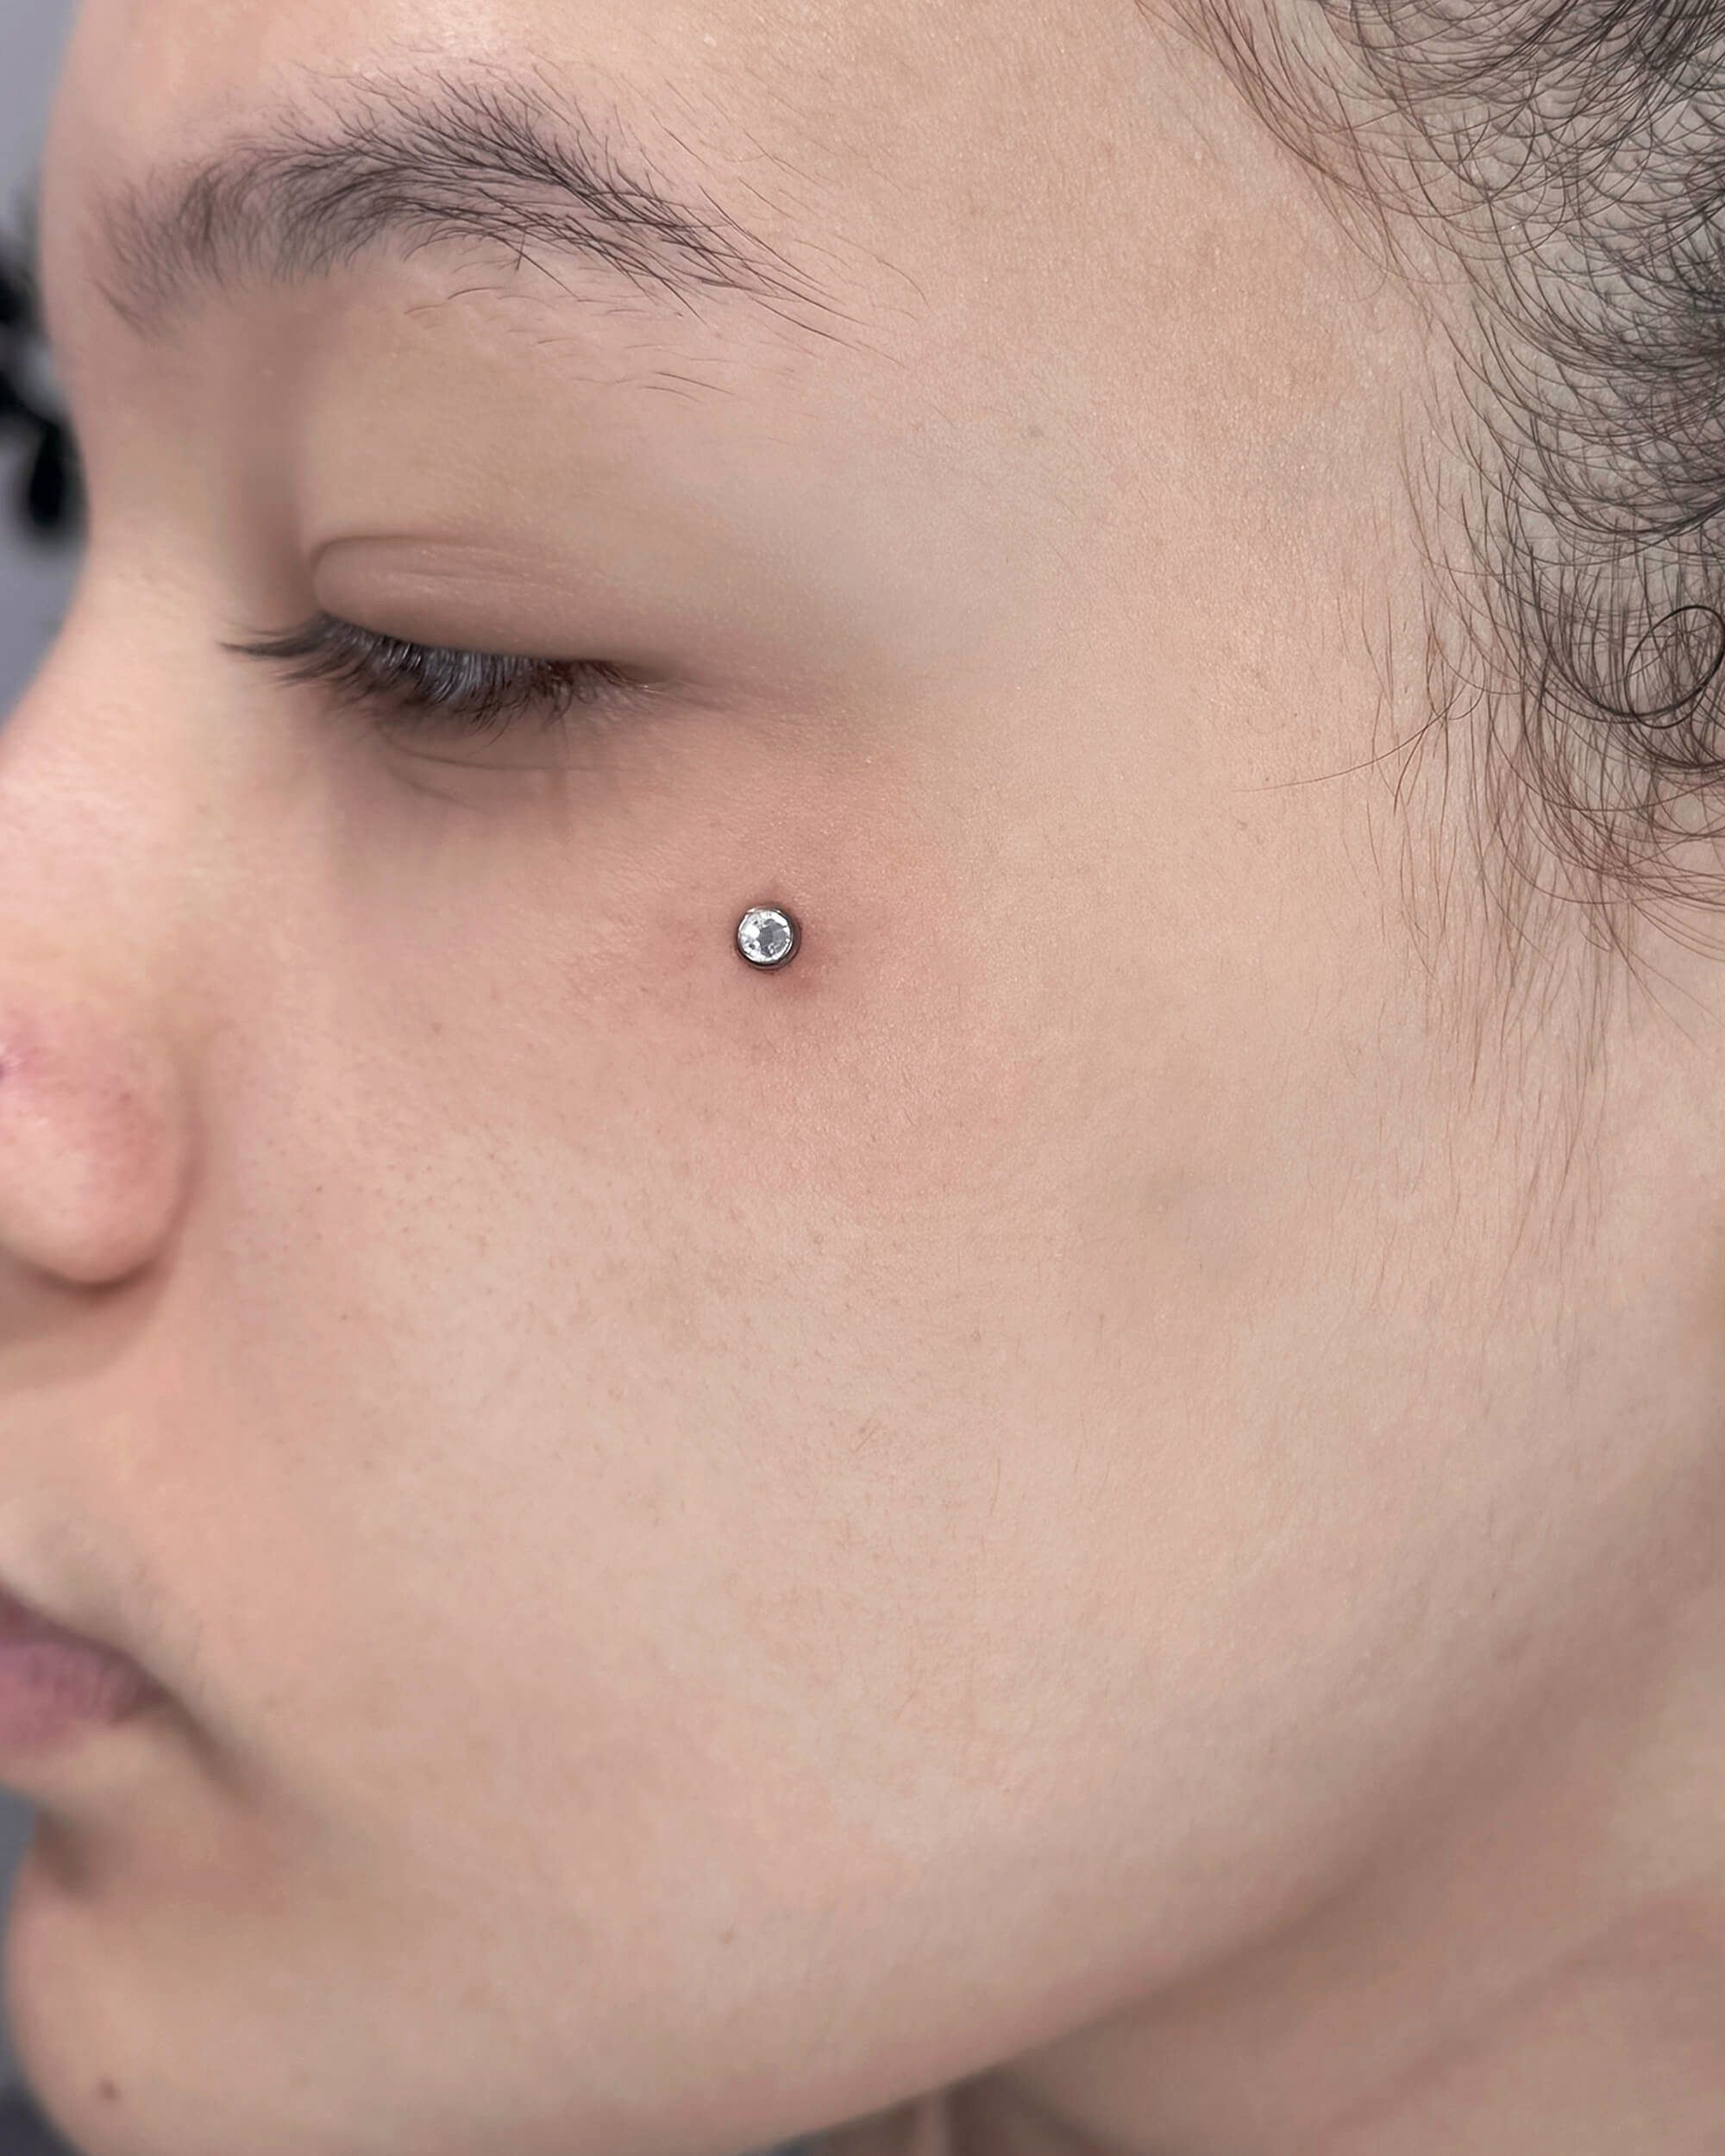
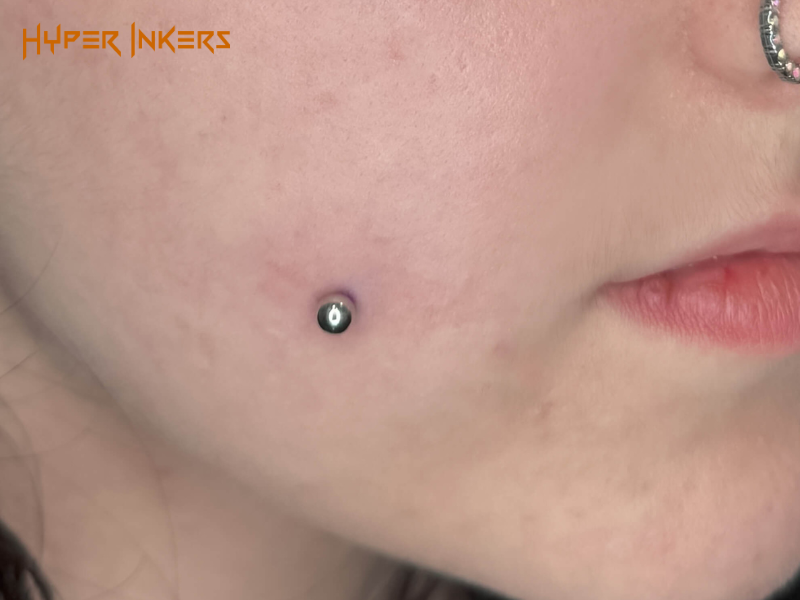
Cheek Piercings
Cheek piercings, also known as dimple piercings, are less common but have gained popularity for their unique aesthetic. These piercings go through the cheeks, creating the appearance of dimples. Due to their location, they typically require a longer healing period (8-12 weeks) and meticulous aftercare to avoid complications.
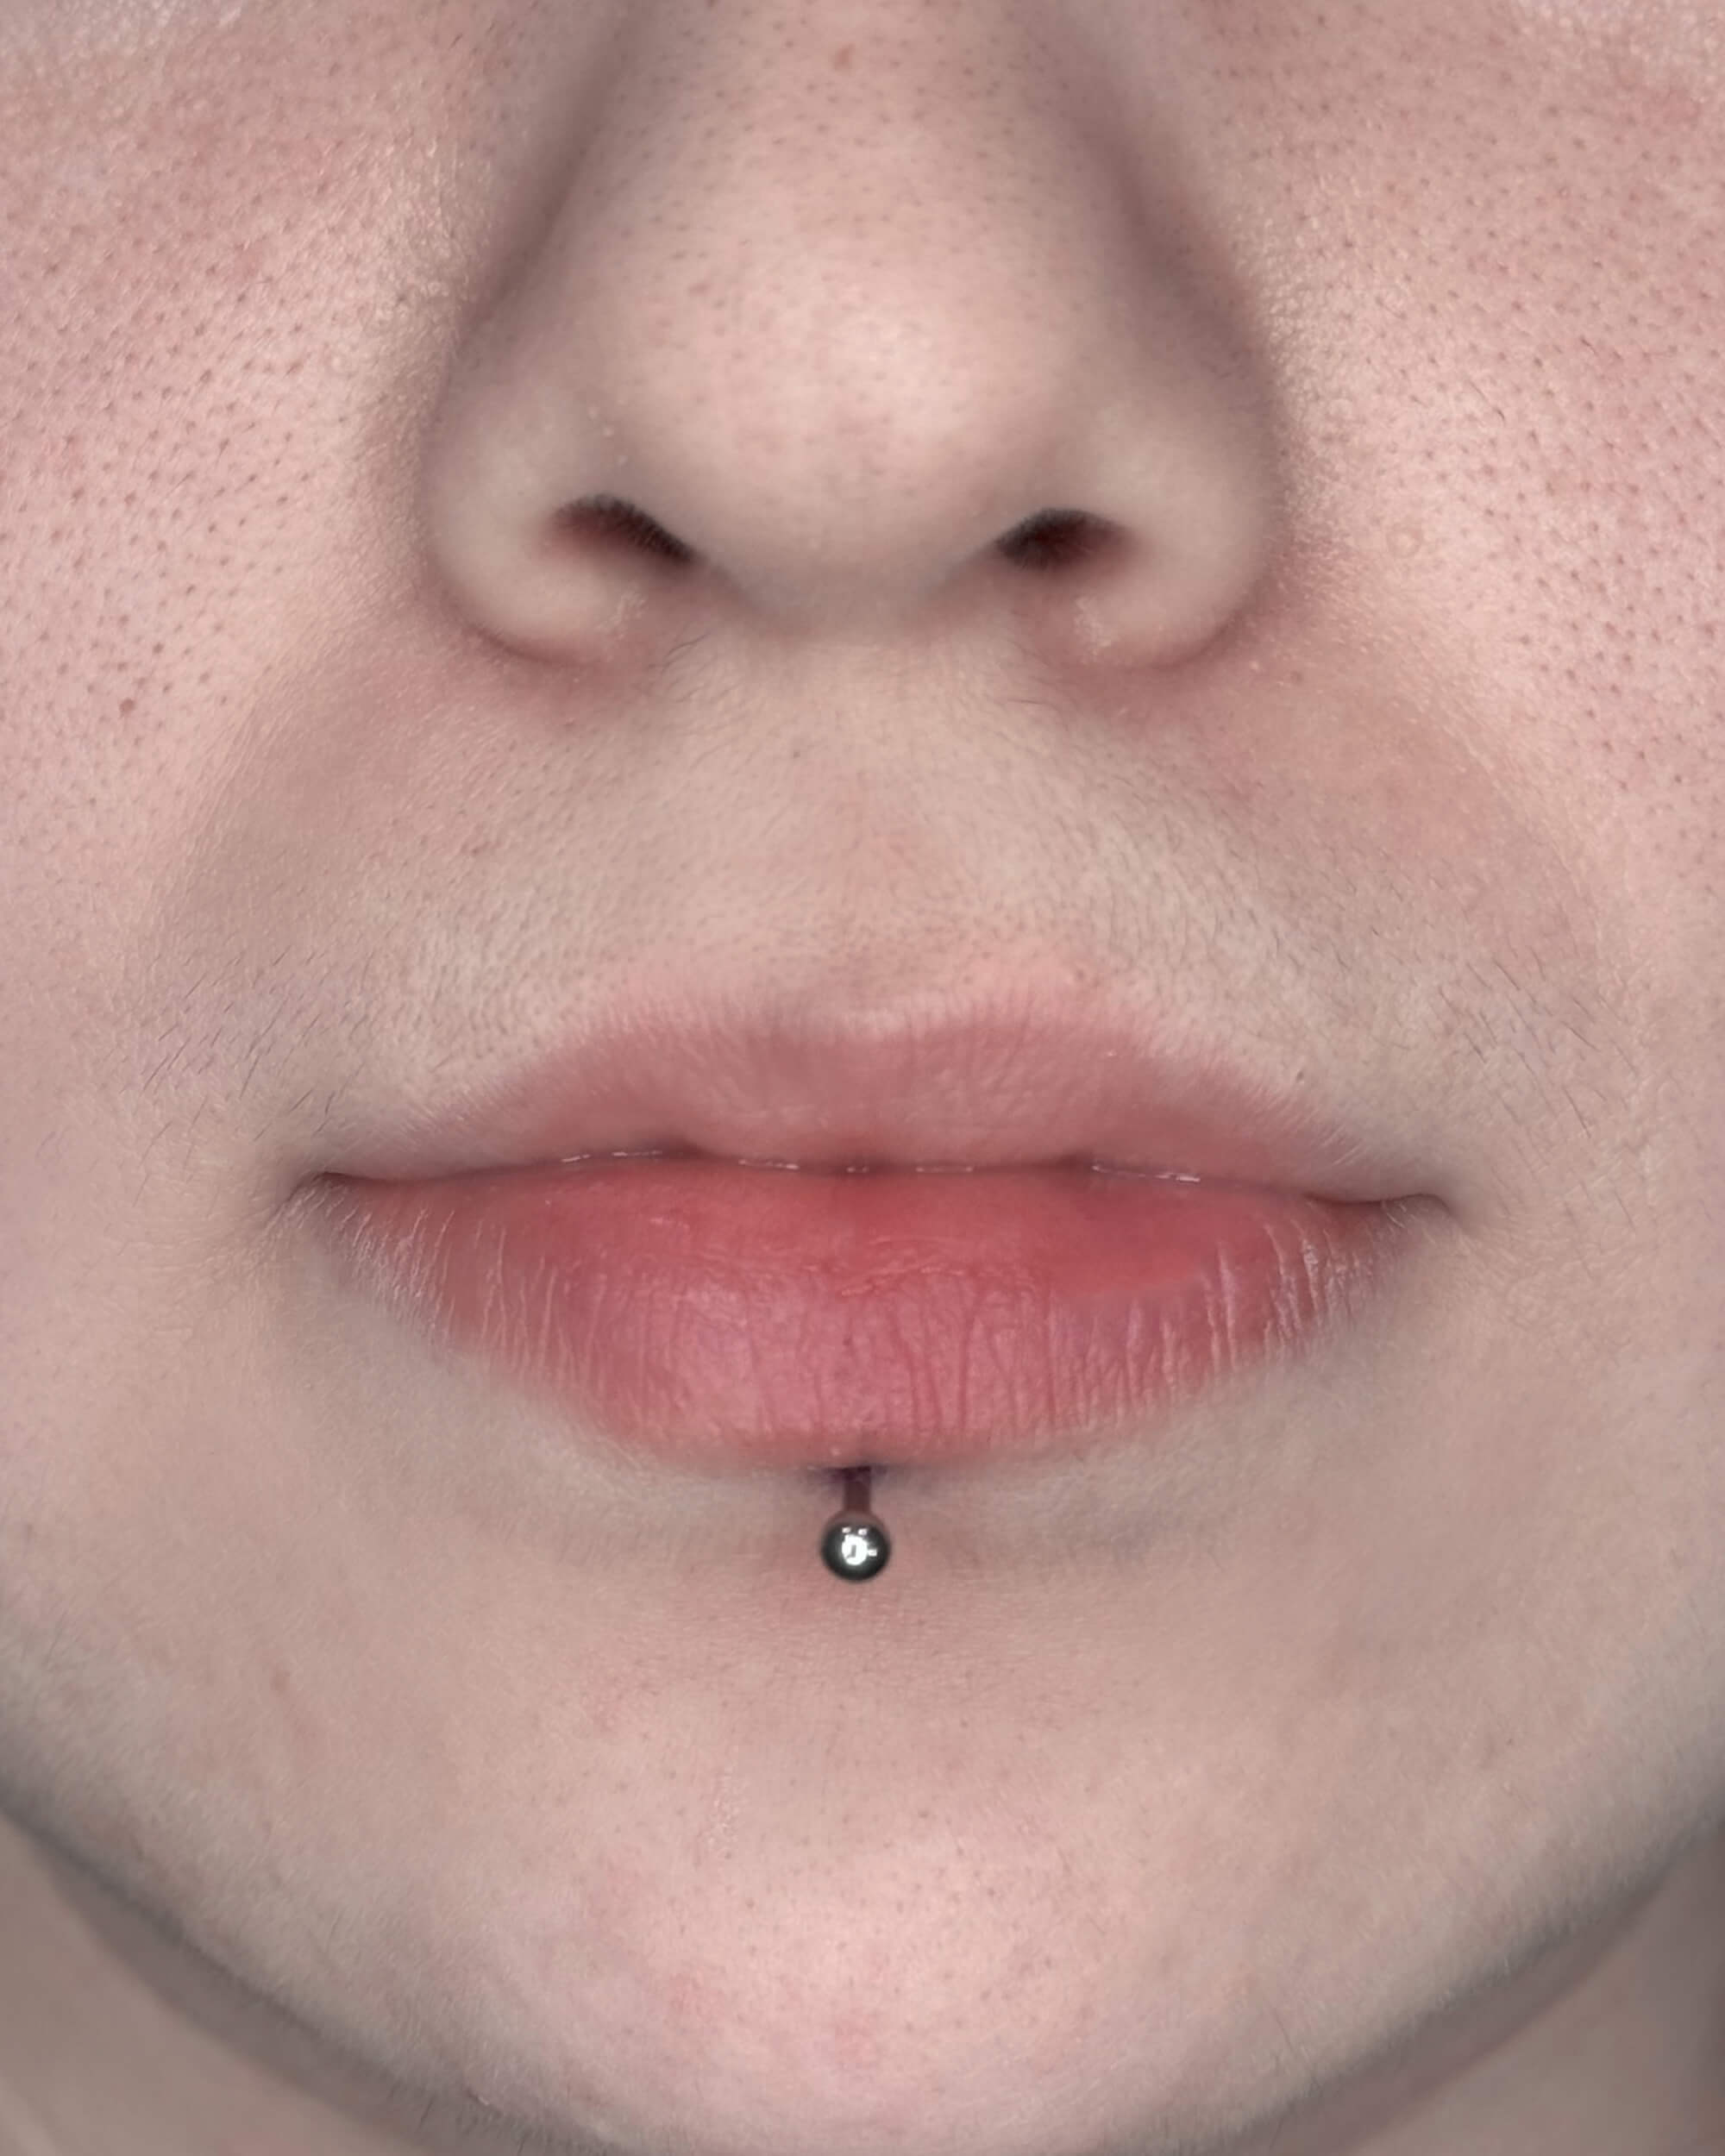
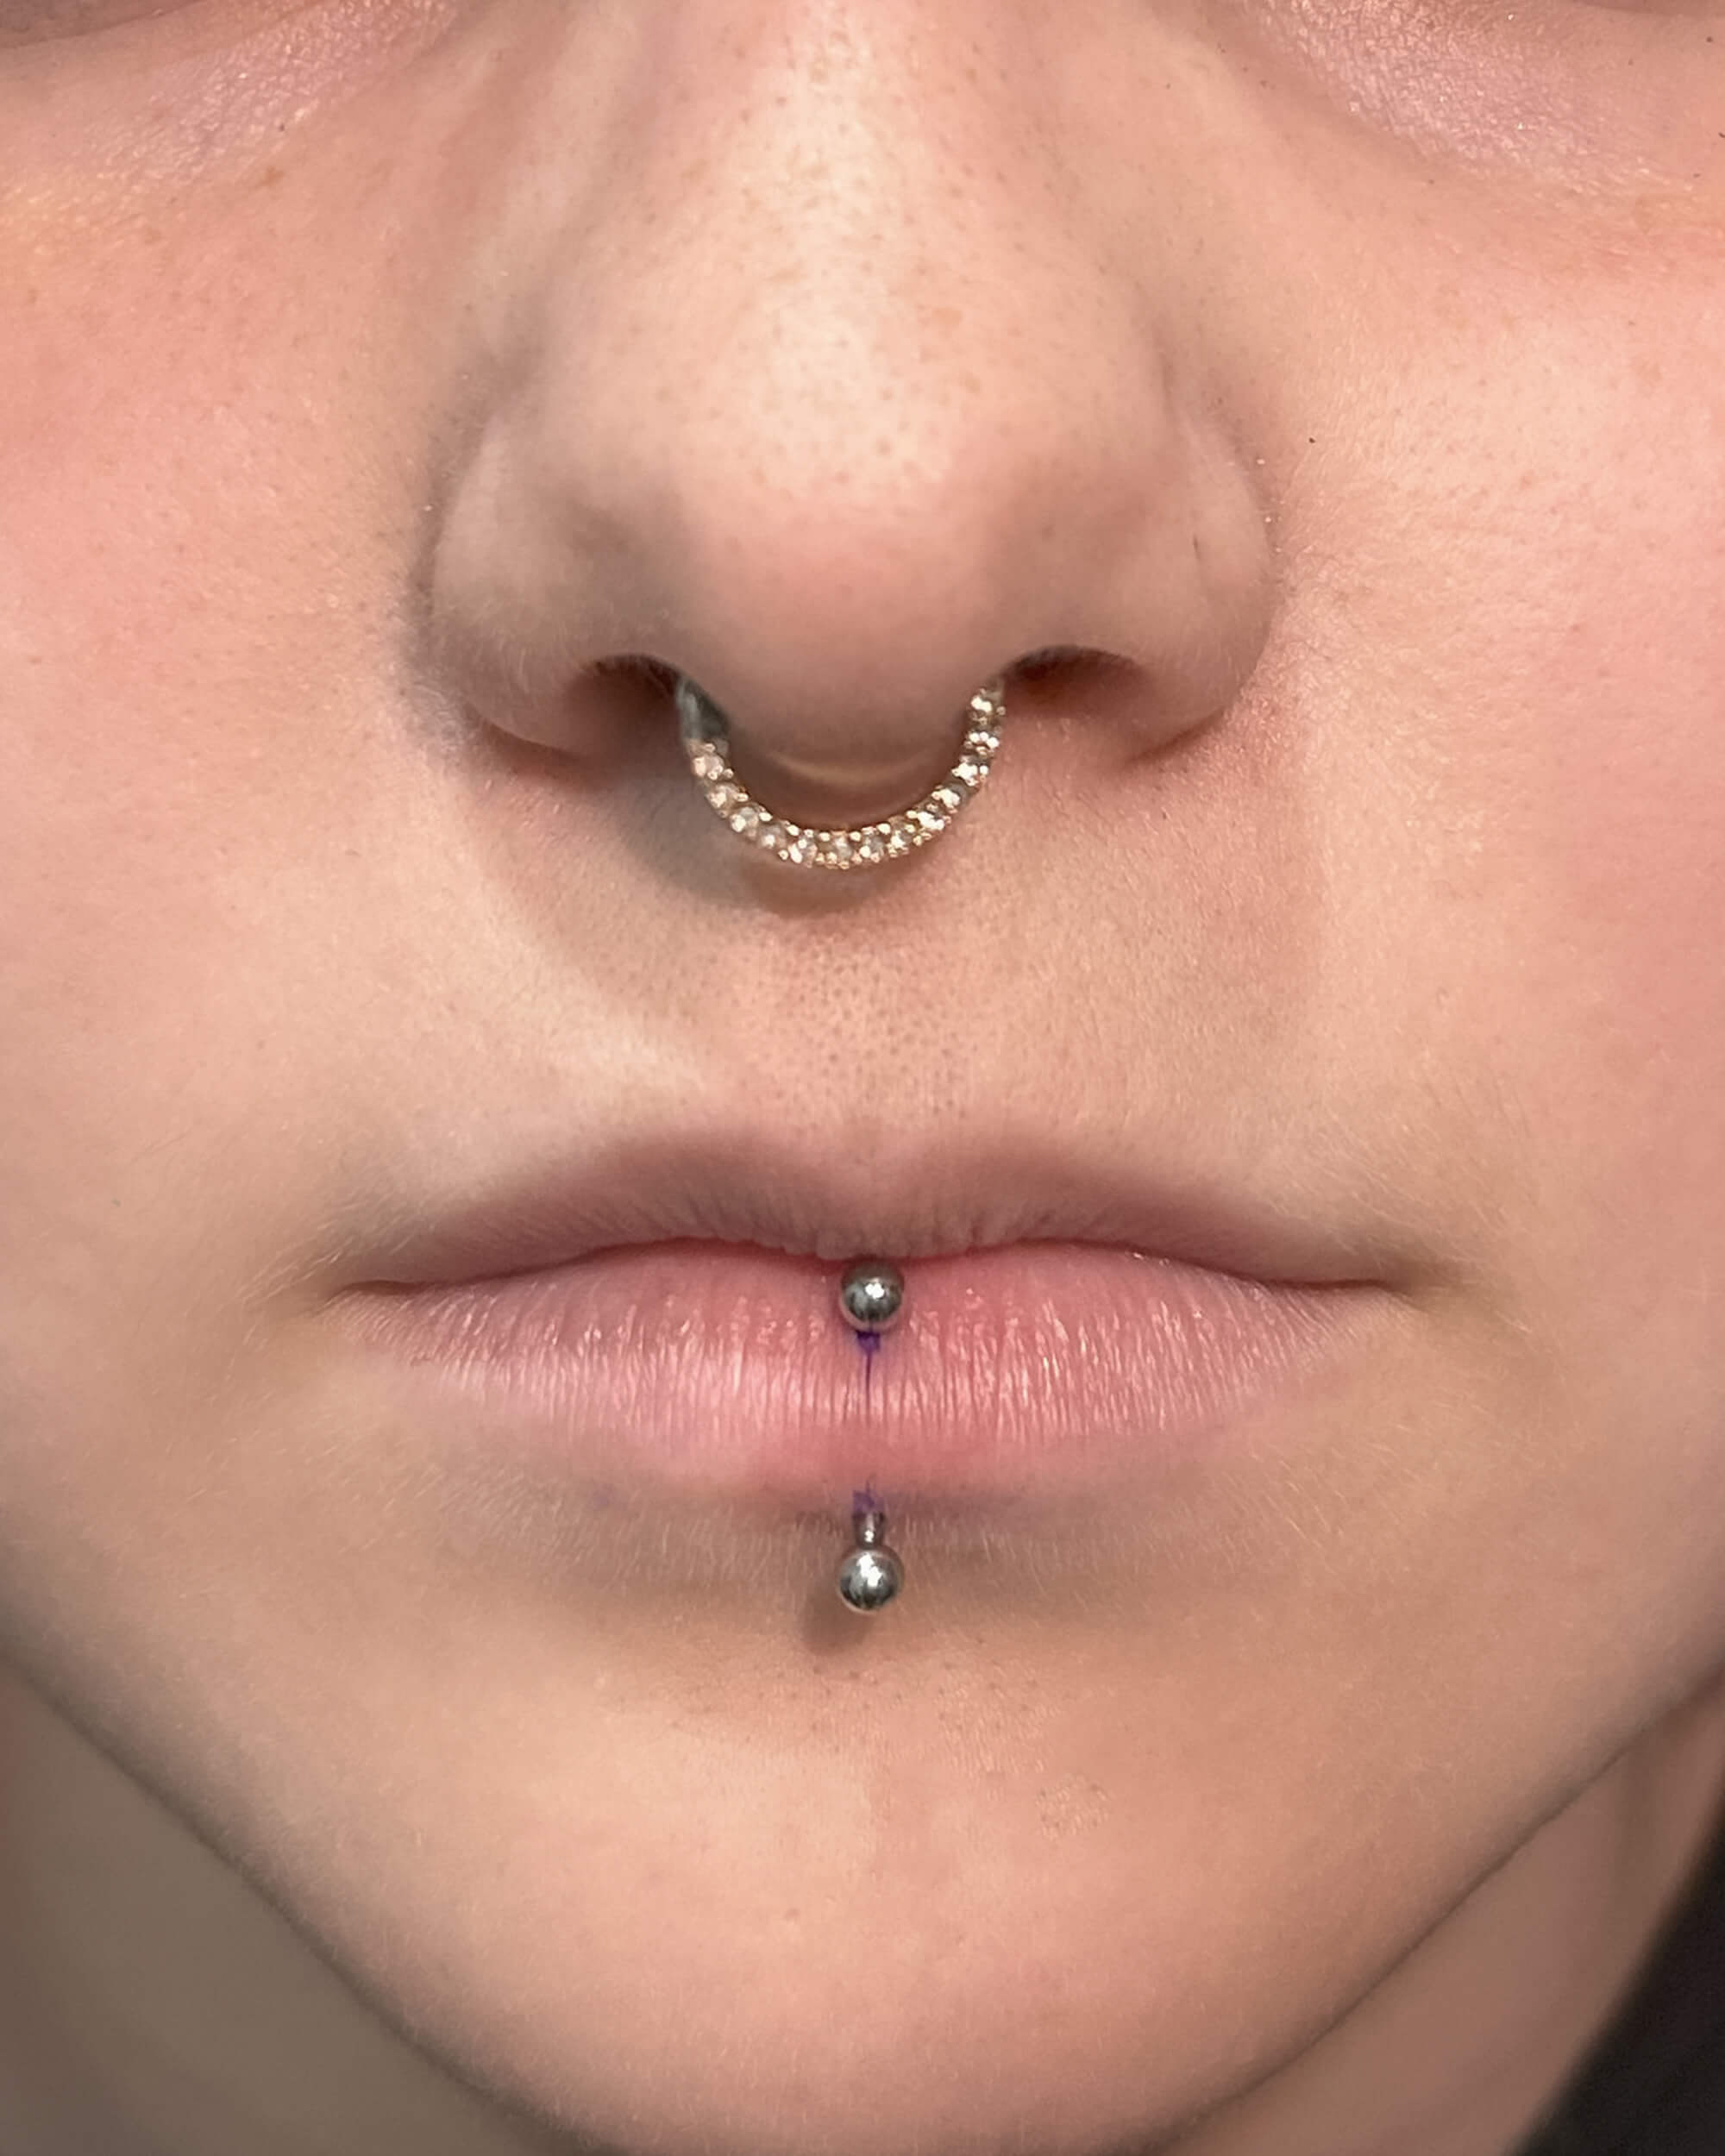
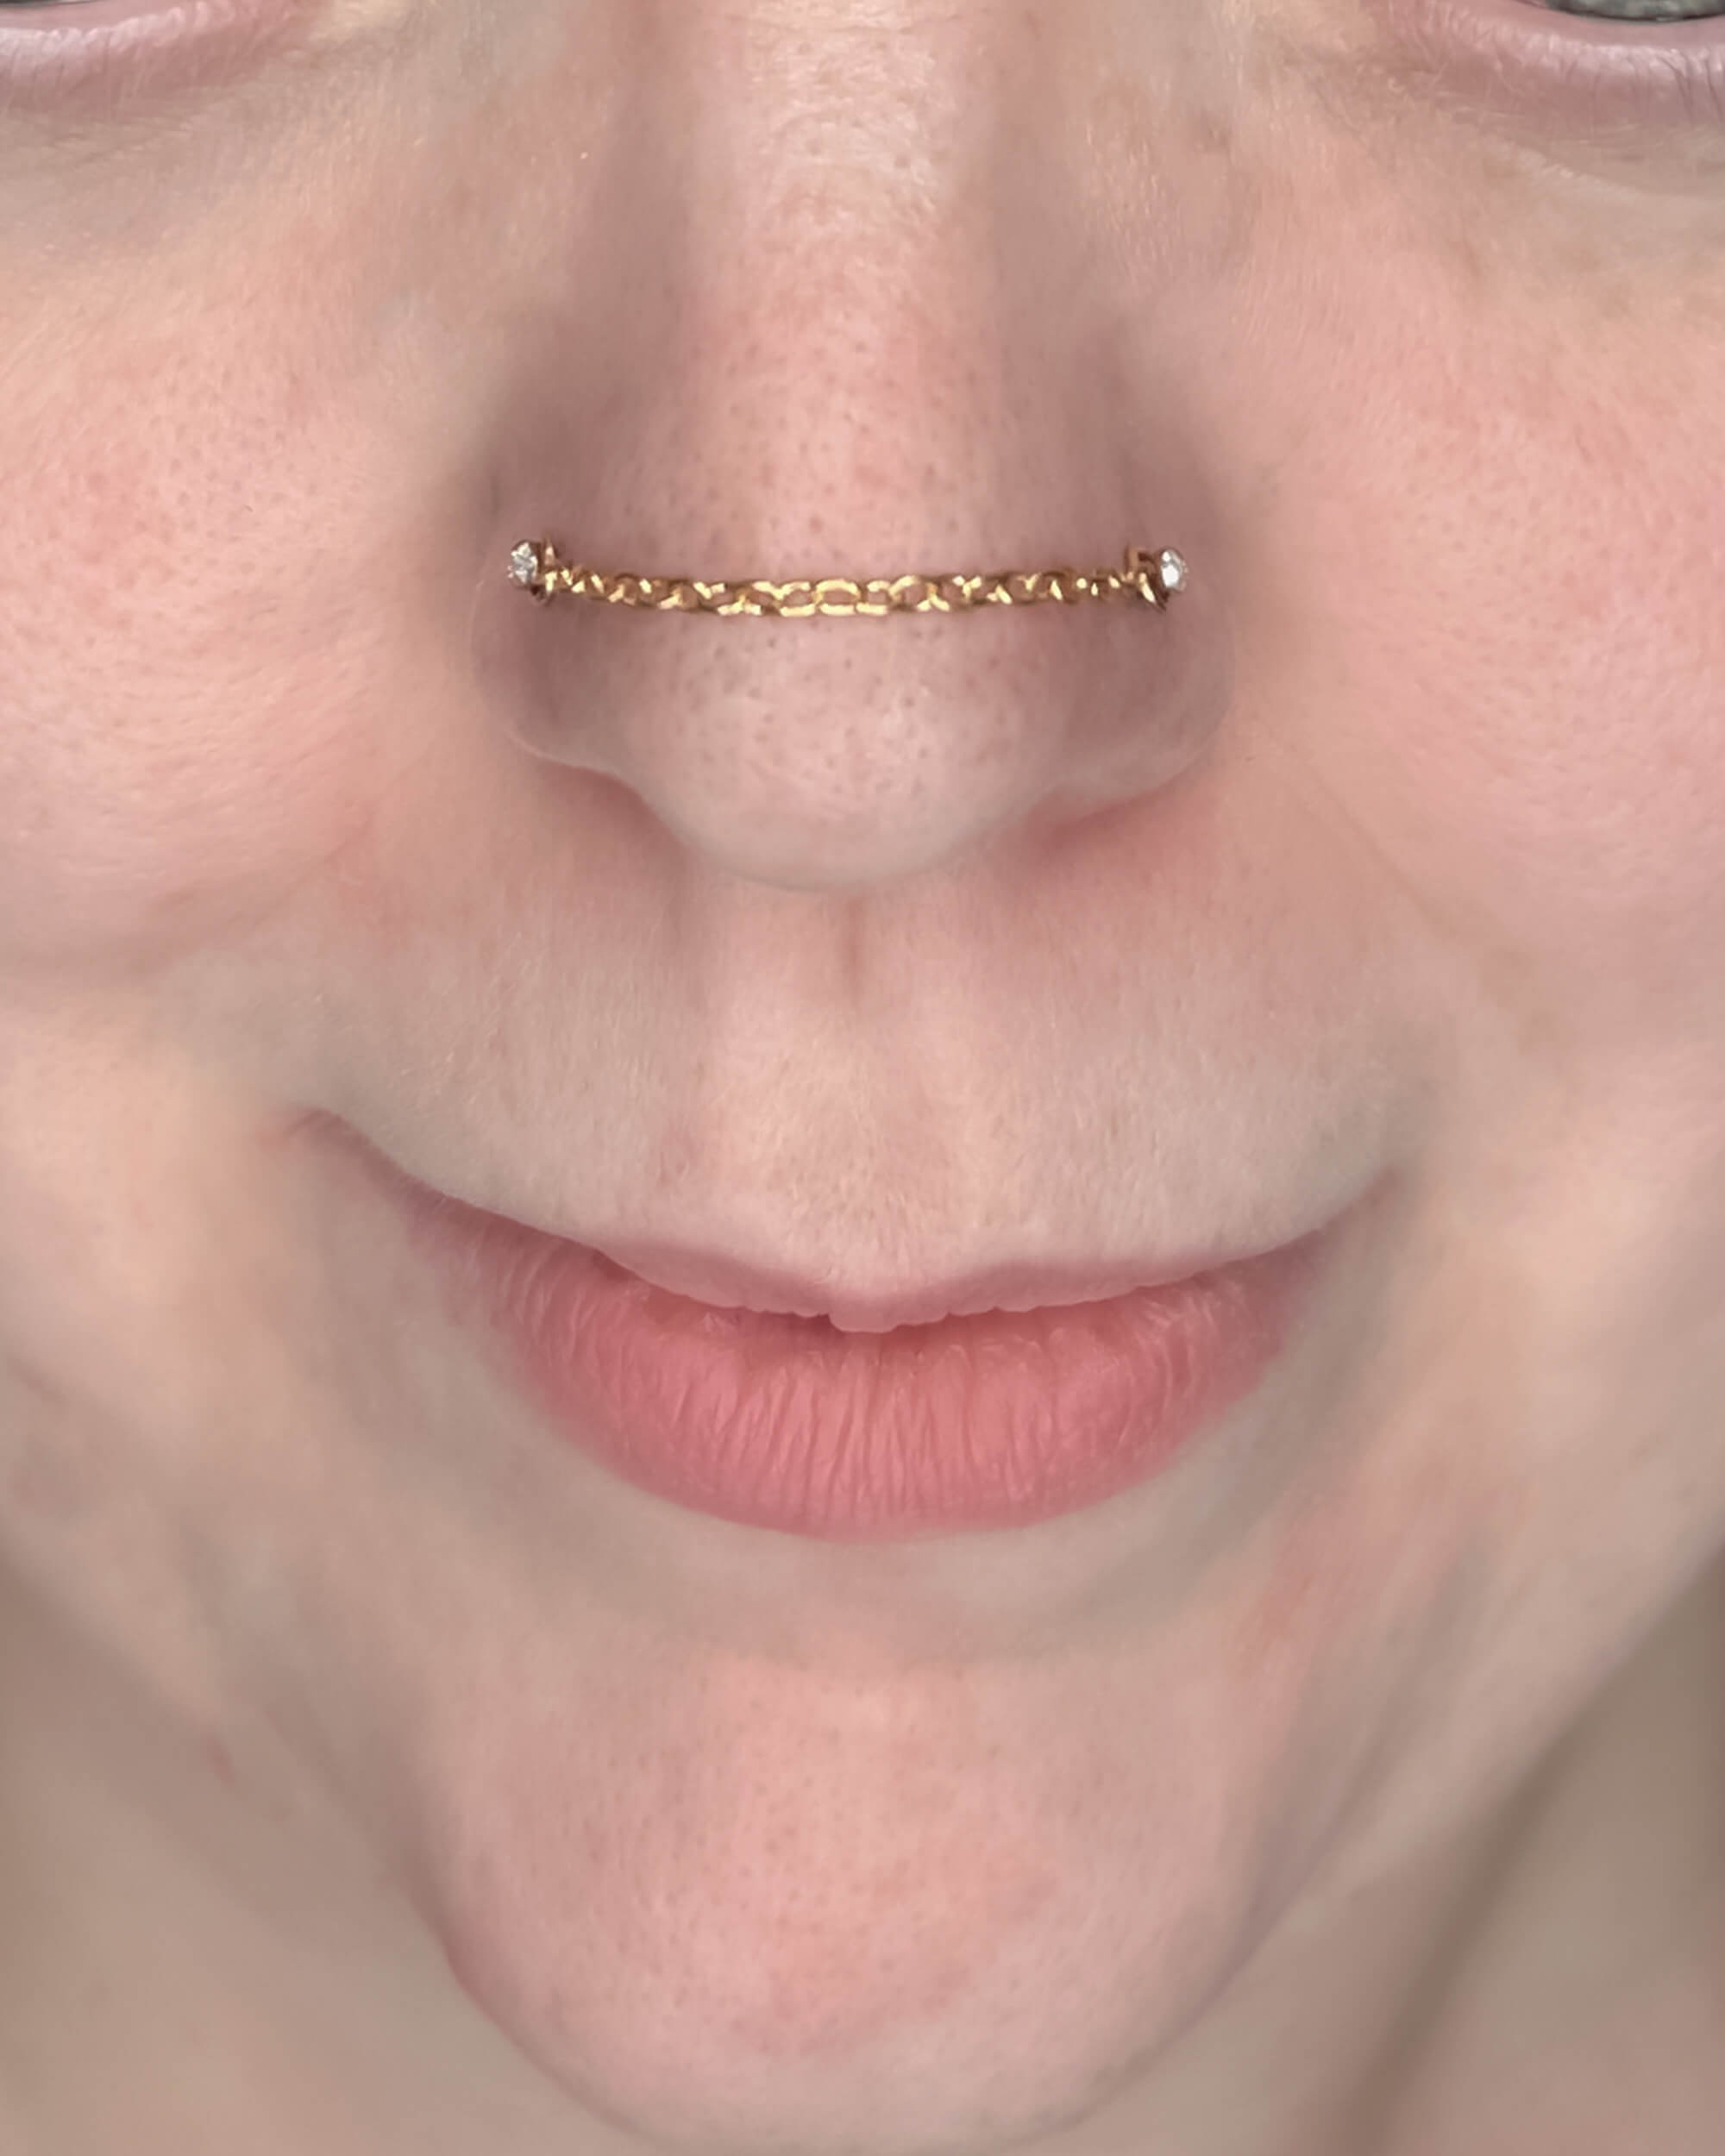
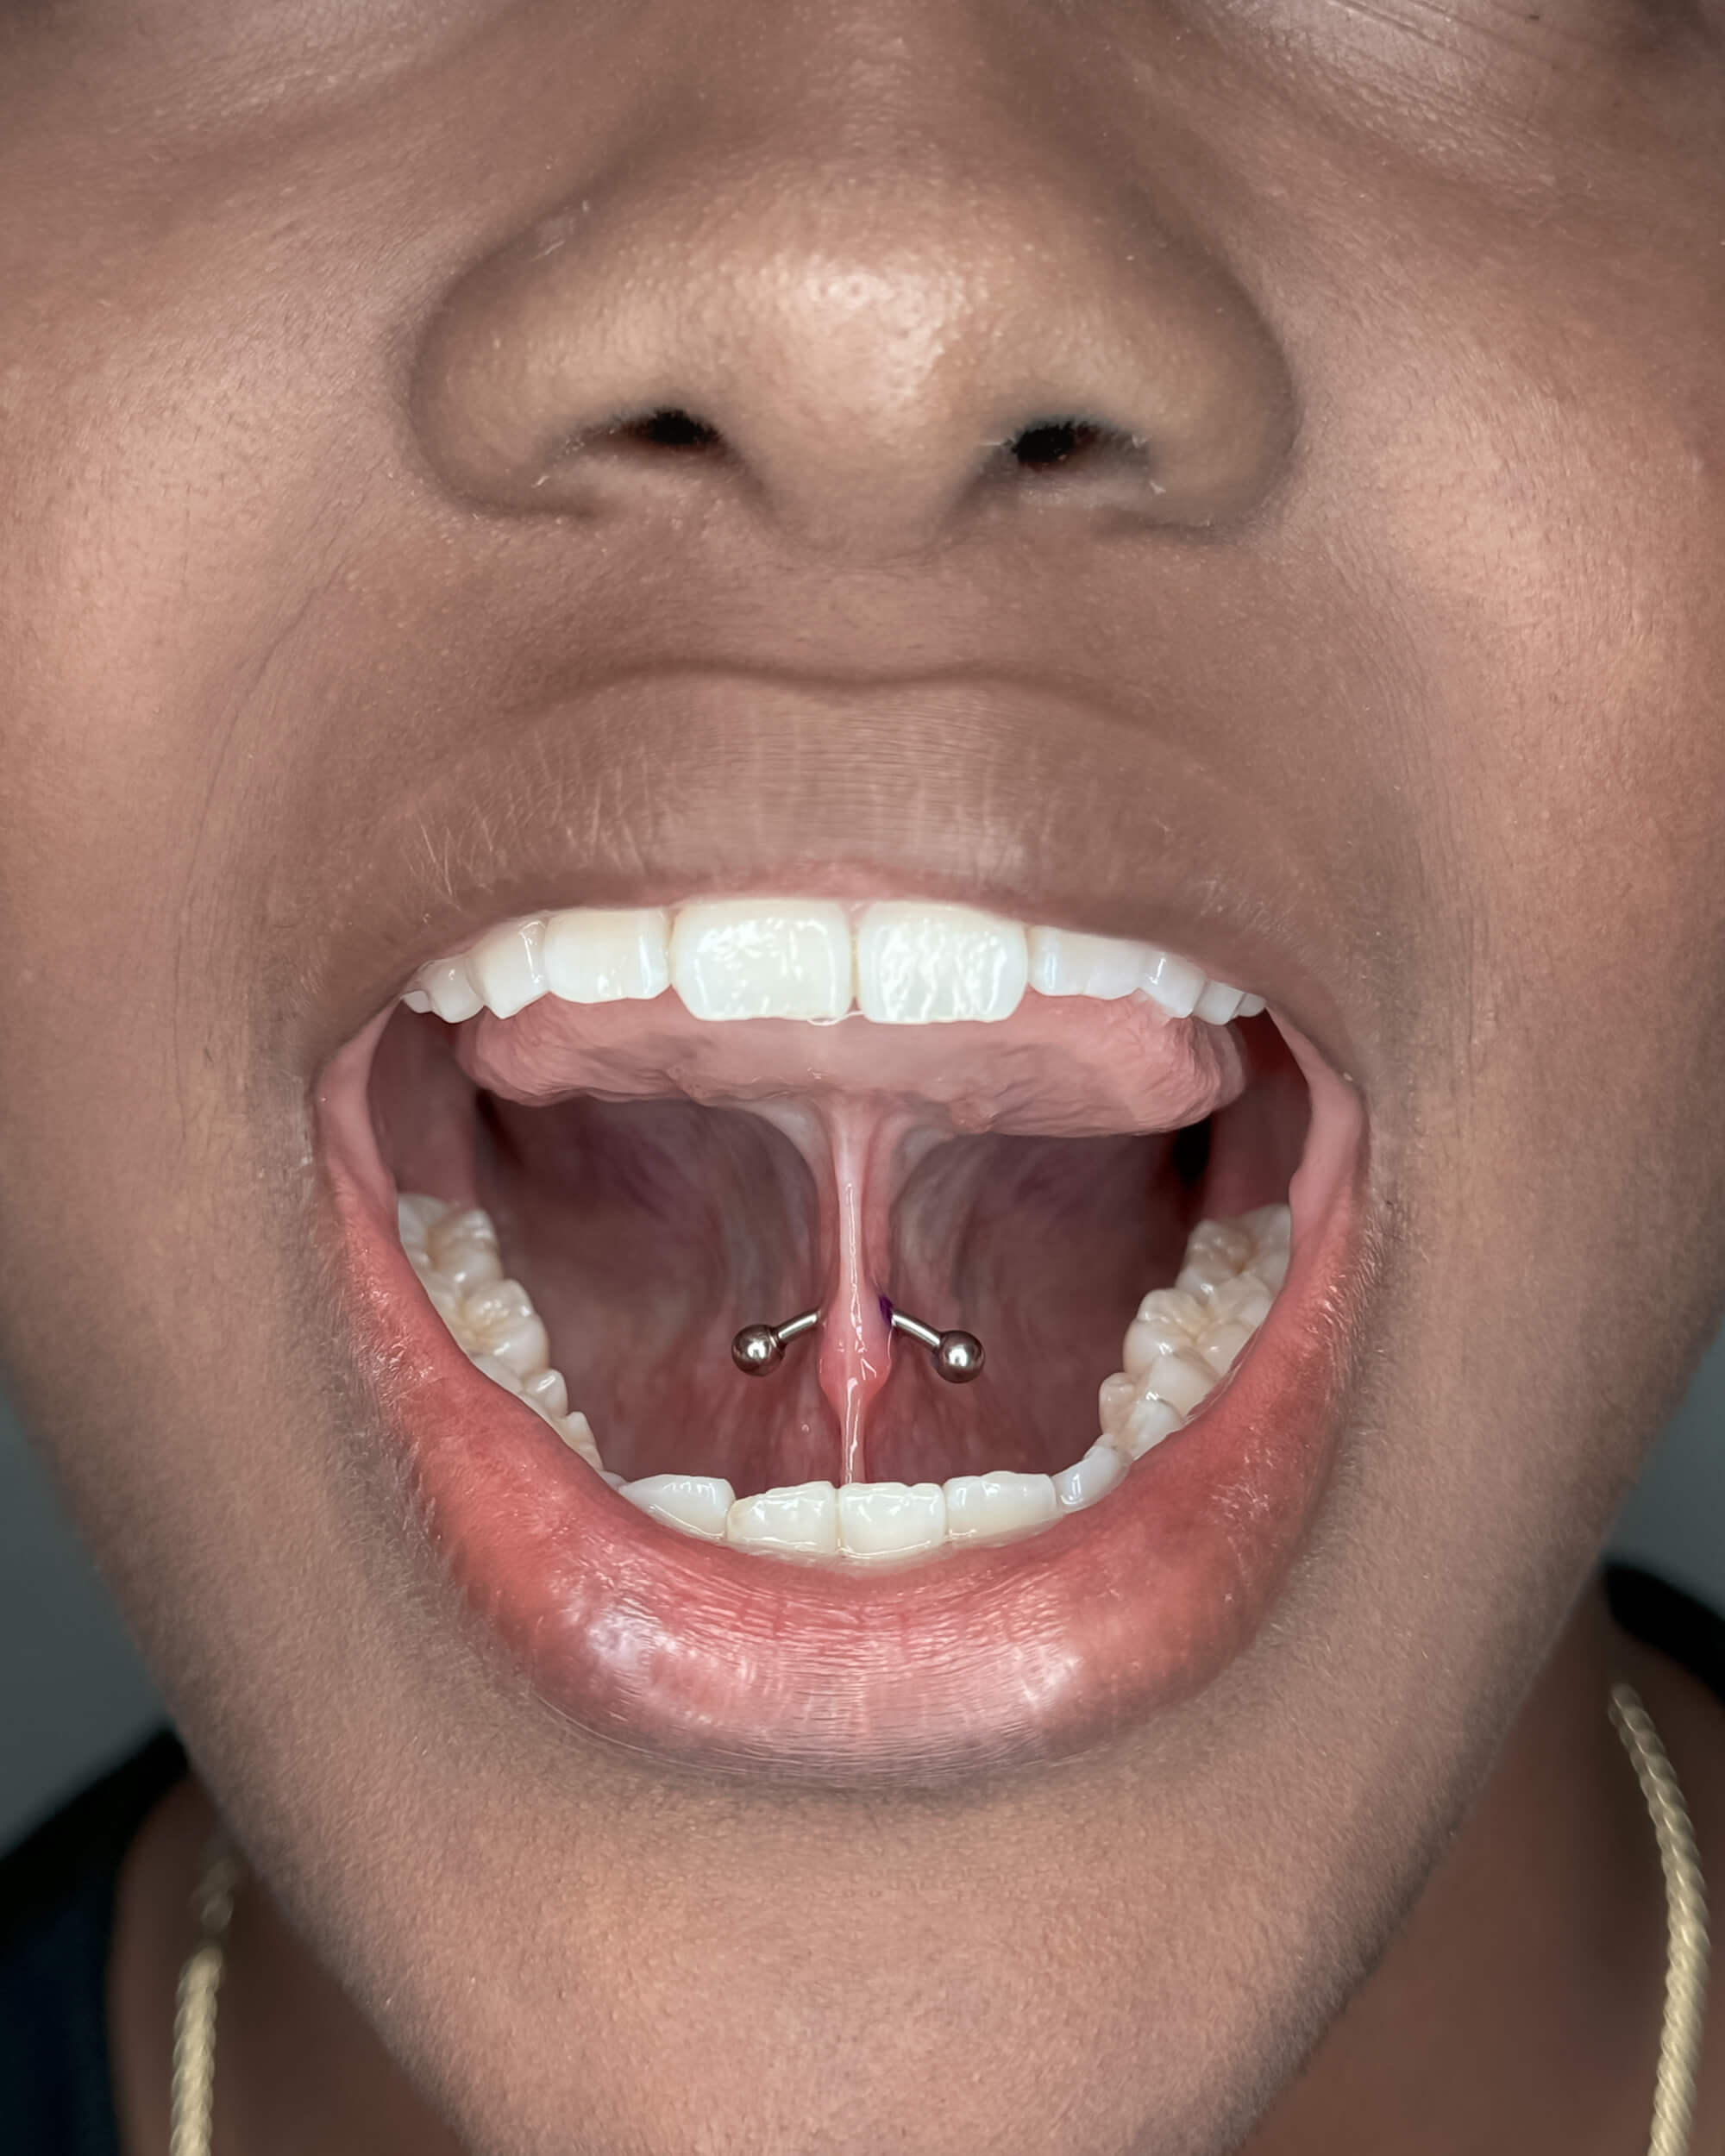
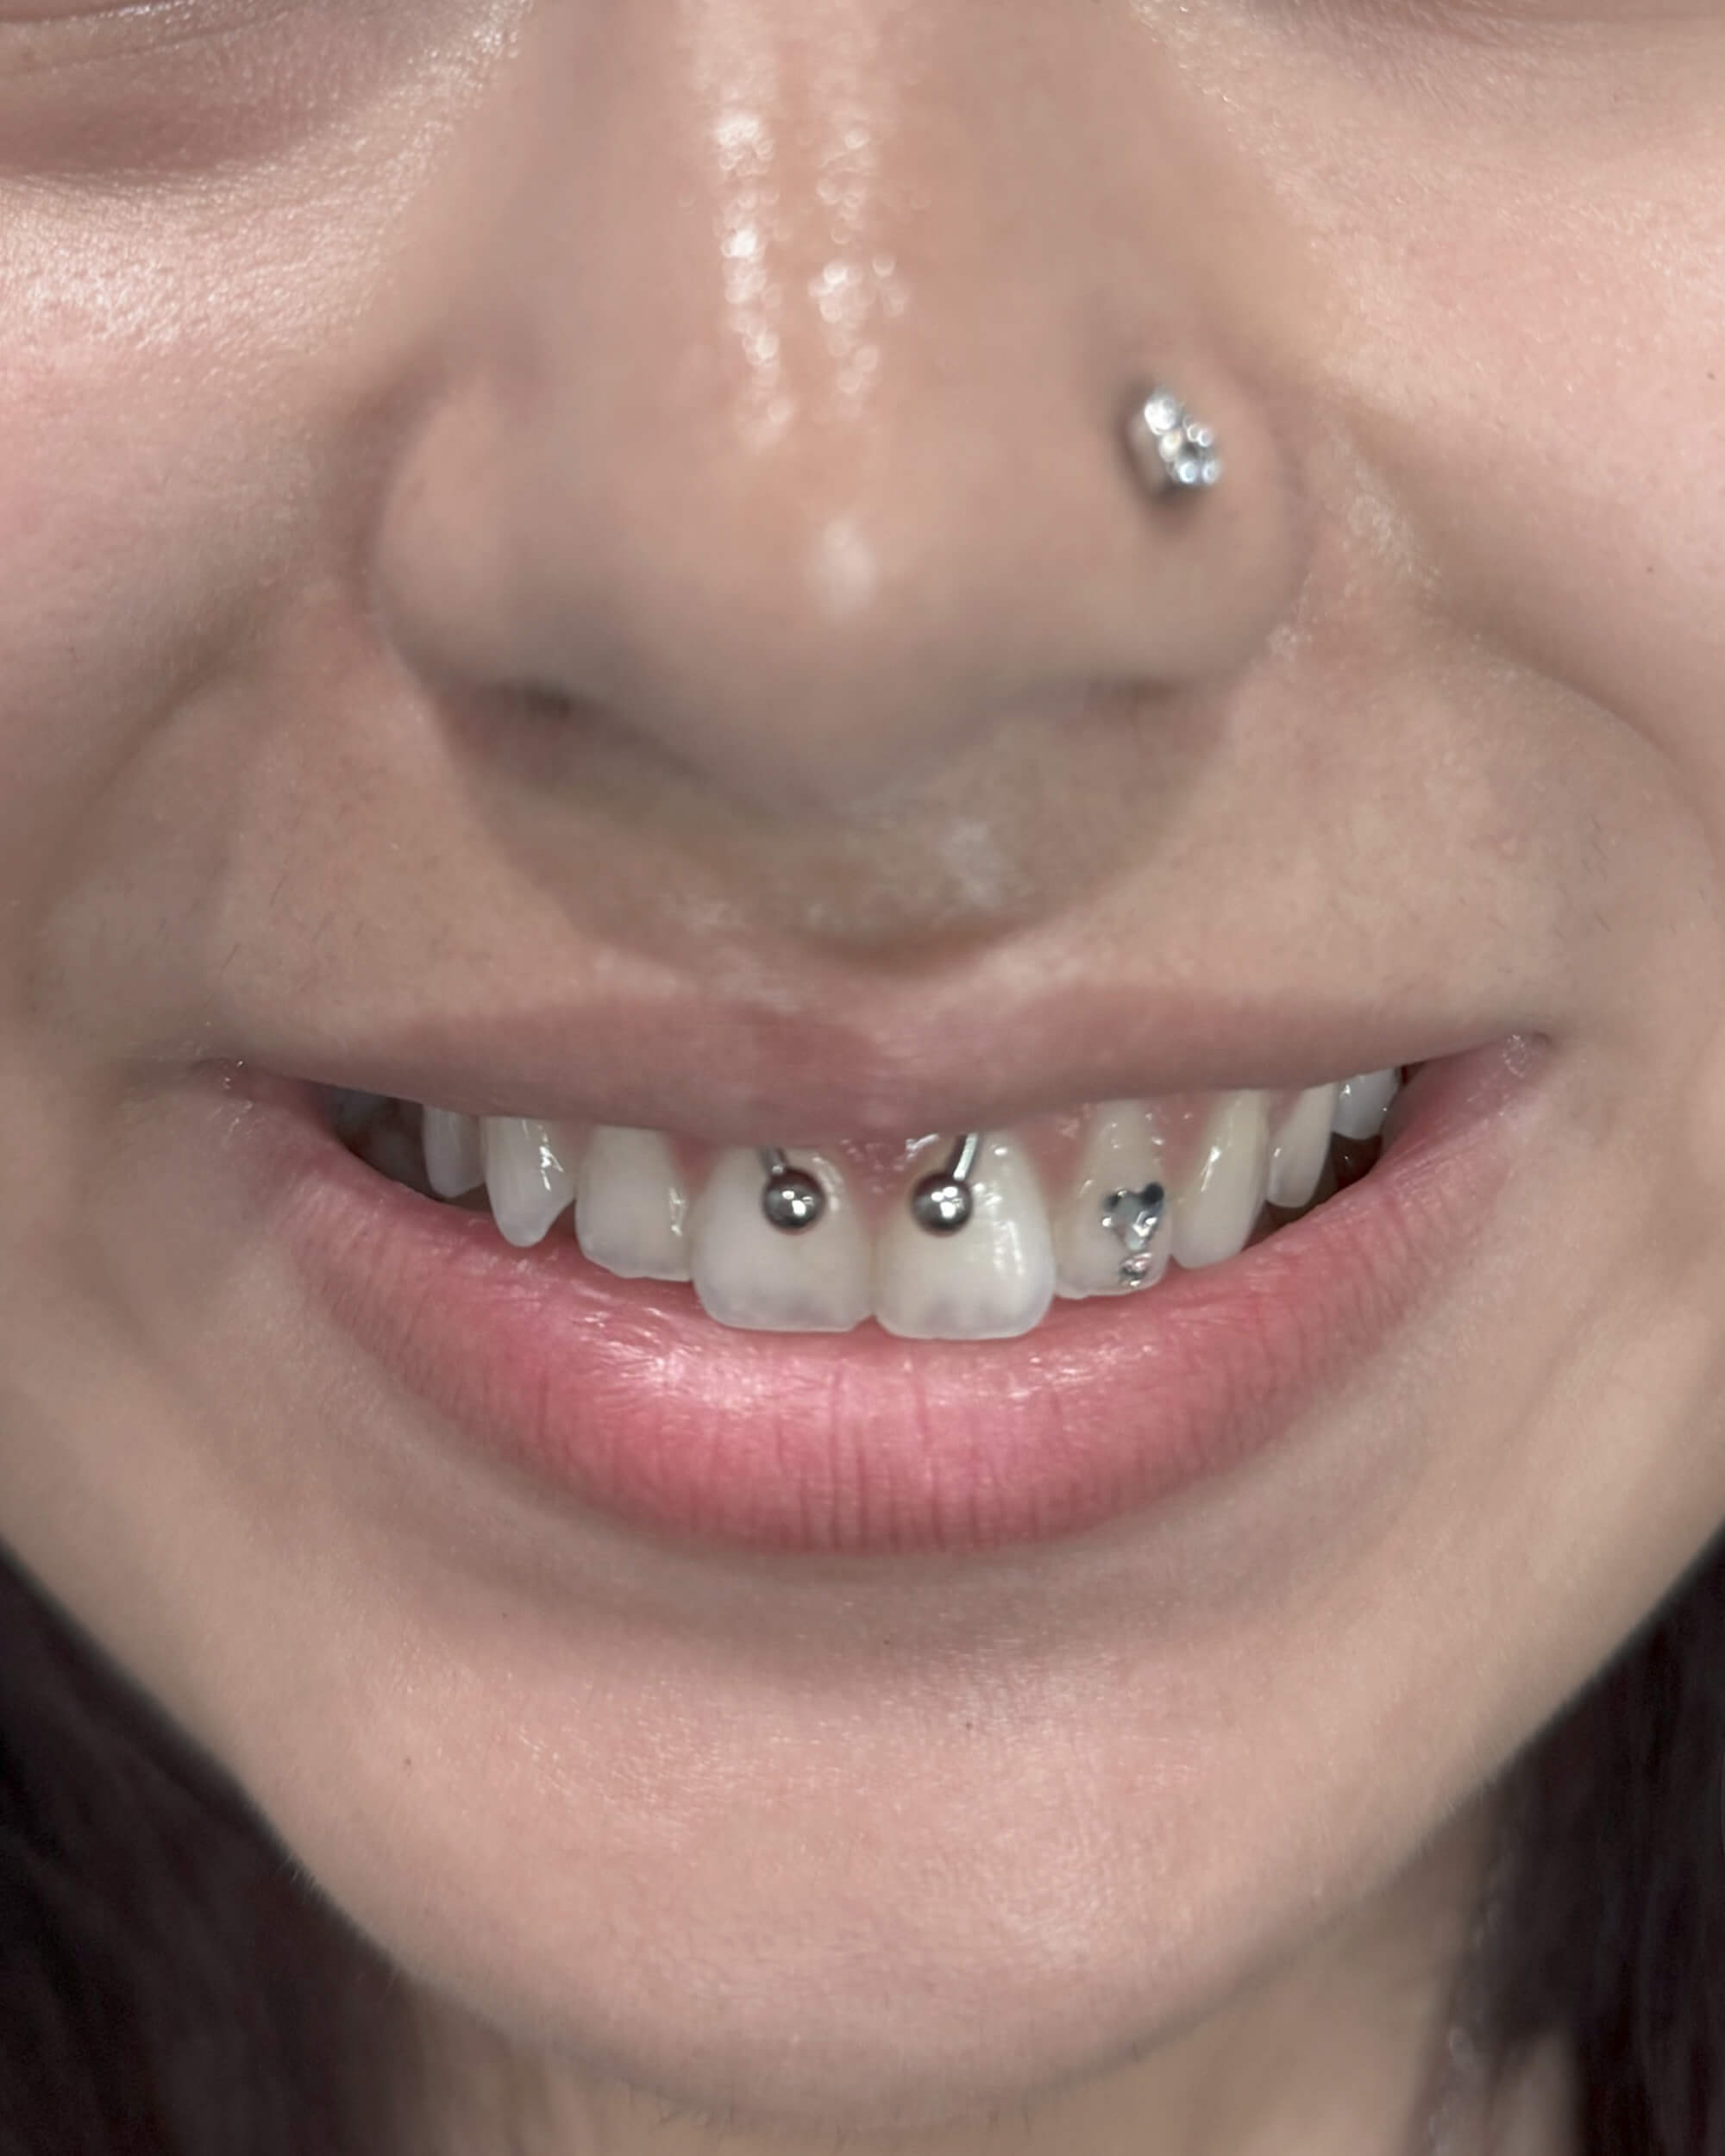
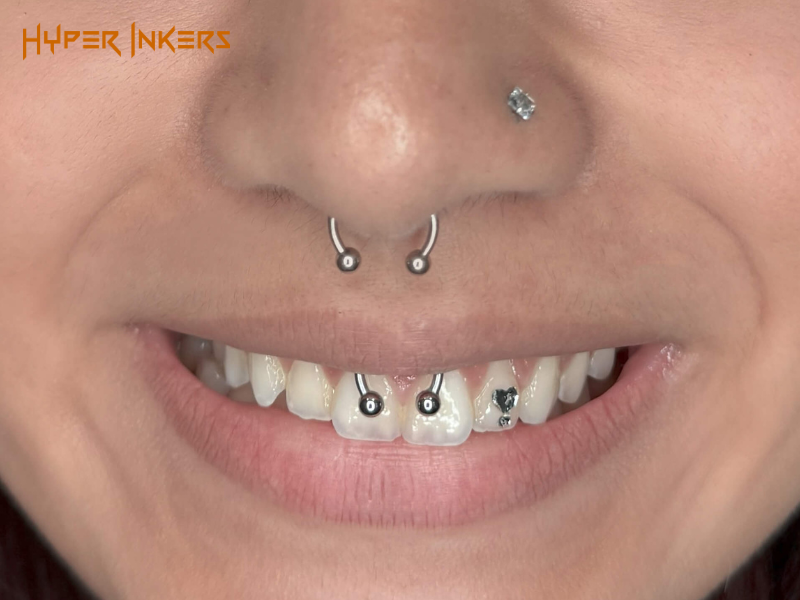
Oral Frenulum Piercings
Oral frenulum piercings involve piercing the thin fold of tissue that connects the lip to the gum. When located on the upper lip frenulum, these piercings are often referred to as “smiley” or “scrumper” piercings because they become visible when smiling. Piercings on the lower lip frenulum are commonly called “frowny” piercings. These piercings typically heal relatively quickly compared to other oral piercings but require diligent cleaning due to the sensitivity of the tissue involved.
Oral Piercing Process
Understanding the steps involved in getting an oral piercing can help set realistic expectations and ease any concerns you may have. Below is an outline of the important steps in the oral piercing process you need to know before getting an oral piercing:
Step 1: Chat with Your Piercer
Before anything else, you’ll have a friendly consultation where you talk about exactly where you want your piercing, what kind of jewelry suits you best, and go over any health concerns or allergies you might have.
Step 2: Getting Ready
Next, your piercer will carefully sterilize all the tools and clean the area to make sure everything is safe and hygienic.
Step 3: Marking the Spot
They’ll mark the exact spot where the piercing will go so you can double-check and feel confident about the placement.
Step 4: The Piercing Itself
When you’re ready, the piercer will use a sterilized needle to quickly and precisely make the piercing.
Step 5: Putting in the Jewelry
Right after, they’ll insert your new jewelry—usually a barbell or labret stud made from safe materials.
Step 6: Aftercare Tips
Before you leave, your piercer will walk you through how to take care of your new piercing to keep it clean and help it heal smoothly.
Aftercare for Oral Piercings
- Maintain good oral hygiene by brushing and flossing regularly.
- Rinse your mouth with a gentle, alcohol-free mouthwash or saline solution after eating or drinking.
- Avoid touching or playing with the piercing to prevent irritation.
- Stay hydrated and eat soft, non-irritating foods during the initial healing period.
- Avoid smoking, alcohol, and spicy or acidic foods that can delay healing.
- Keep track of any signs of infection, such as excessive redness, swelling, or discharge, and consult a piercer if concerned.
Choosing Hyper Inkers in San Antonio for your Oral Piercings
At Hyper Inkers, we prioritize your safety, comfort, and satisfaction throughout the entire piercing experience. Our team of skilled piercers uses only sterilized equipment and high-quality, biocompatible jewelry to ensure a smooth procedure with minimal risk.
Beyond the piercing itself, we provide thorough aftercare guidance and ongoing support to help your new piercing heal properly and look great for years to come. Choose Hyper Inkers for a friendly and safe oral piercing experience you can trust.